Building Ionic Image Upload With PHP Server Last update: 2016-08-25

Capturing, storing and uploading images with Ionic is one of the most used functions. Everyone wants to take photos and work with them inside their app, but in my previous guide about using images with Ionic many people encountered problems on Android. Others needed a backend to upload images. And the code is a bit outdated as well.
So in this tutorial we will see how to take a photo or load one from the library, copy that image inside our app folder and finally upload it to a very simple PHP server. In this tutorial we will use Ionic 1 due to the high demand, but if you want an Ionic 2 app for this case as well please leave a comment below! Let’s get the fun started, this is a real hands-on project and you could take the code as a starter for many other projects.
Prerequisite
Learning Ionic can become overwhelming, I know that feeling. Is learning from tutorials and videos sometimes not enough for you? Then I got something for you.
If you want to learn Ionic with step-by-step video courses, hands-on training projects and a helpful community who has your back, then take a look at the Ionic Academy.
Setup the Ionic Image Upload Project
We start with a blank Ionic 1 app and install a handful of Cordova plugins we need to access the camera, the filesystem and so on. Additional we install ngCordova, the Angular 1 wrapper for Cordova plugins.
ionic start devdactic-image-upload blank
cd devdactic-image-upload

# Add Cordova Plugins
ionic plugin add cordova-plugin-file
ionic plugin add cordova-plugin-file-transfer
ionic plugin add cordova-plugin-filepath
ionic plugin add cordova-plugin-camera
ionic plugin add cordova-plugin-actionsheet

# Install ngCordova
bower install ngCordova --save
After setting up our project we need to load the ngCordova lib inside the head section of our index.html before the cordova.js file:
<script src="lib/ngCordova/dist/ng-cordova.js"></script>Finally make sure to add the ngCordova dependency to the array of dependencies of our app inside the www/app.js:
angular.module('starter', ['ionic', 'ngCordova'])Now we got a solid amount of plugins and stuff for our app. Note that we need to test this app inside the simulator or a device as we need native functionality, so make sure to add the platform (iOS/ Android) you need to your project.
Creating a simple view
The view of our Ionic image upload app will be very simple. We just need 2 buttons for loading an image and uploading it later. We also want to display the file we took inside the app just to make sure we have the correct one. Go ahead and open the index.html and replace the current body with this:
<body ng-app="starter" ng-controller="ImageCtrl">
	<ion-pane>
		<ion-header-bar class="bar-positive">
			<h1 class="title">Devdactic Image Upload</h1>
		</ion-header-bar>
		<ion-content>
			<img ng-src="{{pathForImage(image)}}" style="width: 100%; height: 100%;" />
		</ion-content>
		<ion-footer-bar class="bar bar-positive">
			<div class="button-bar">
				<button class="button icon-left ion-camera" ng-click="loadImage()">Take Photo</button>
				<button
					class="button icon-left ion-upload"
					ng-click="uploadImage()"
					ng-disabled="image === null"
				>
					Upload
				</button>
			</div>
		</ion-footer-bar>
	</ion-pane>
</body>
Nothing really special, but note that we will resolve the actual path to the image using a function. By doing this we could always get the path right even after appstart. In this example we are not storing the image, but if you plan to you would only have to store the name of the image and the path to the app folder will always be added.
We will see how this works later, for now e only need a little implementation of our ImageCtrl so open the www/app.js and add:
.controller('ImageCtrl', function ($scope, $cordovaCamera, $cordovaFile, $cordovaFileTransfer, $cordovaDevice, $ionicPopup, $cordovaActionSheet) {
  $scope.image = null;

  $scope.showAlert = function(title, msg) {
    var alertPopup = $ionicPopup.alert({
      title: title,
      template: msg
    });
  };

 // The rest of the app comes in here
});
As you can see, we load quite a bunch of dependencies here. We will see them in action later, for now we only have our empty scope image and a function to display an alert. Let’s continue with the funny part!
Loading camera or library images into our Ionic app
Before we actually capture the image, we want to present the user a simple actionsheet to select between using the camera and loading an image from the photo library. We already installed the needed cordova plugin, so now we simply implement our function to show the actionsheet:
// Present Actionsheet for switch beteen Camera / Library
$scope.loadImage = function() {
  var options = {
    title: 'Select Image Source',
    buttonLabels: ['Load from Library', 'Use Camera'],
    addCancelButtonWithLabel: 'Cancel',
    androidEnableCancelButton : true,
  };
  $cordovaActionSheet.show(options).then(function(btnIndex) {
    var type = null;
    if (btnIndex === 1) {
      type = Camera.PictureSourceType.PHOTOLIBRARY;
    } else if (btnIndex === 2) {
      type = Camera.PictureSourceType.CAMERA;
    }
    if (type !== null) {
      $scope.selectPicture(type);
    }
  });
};
We need to specify some options which we then can pass to the $cordovaActionSheet. When the user selects one of those 2 options, we call our actual image taking function with the specified source type.
The actionsheet will look like this on iOS. 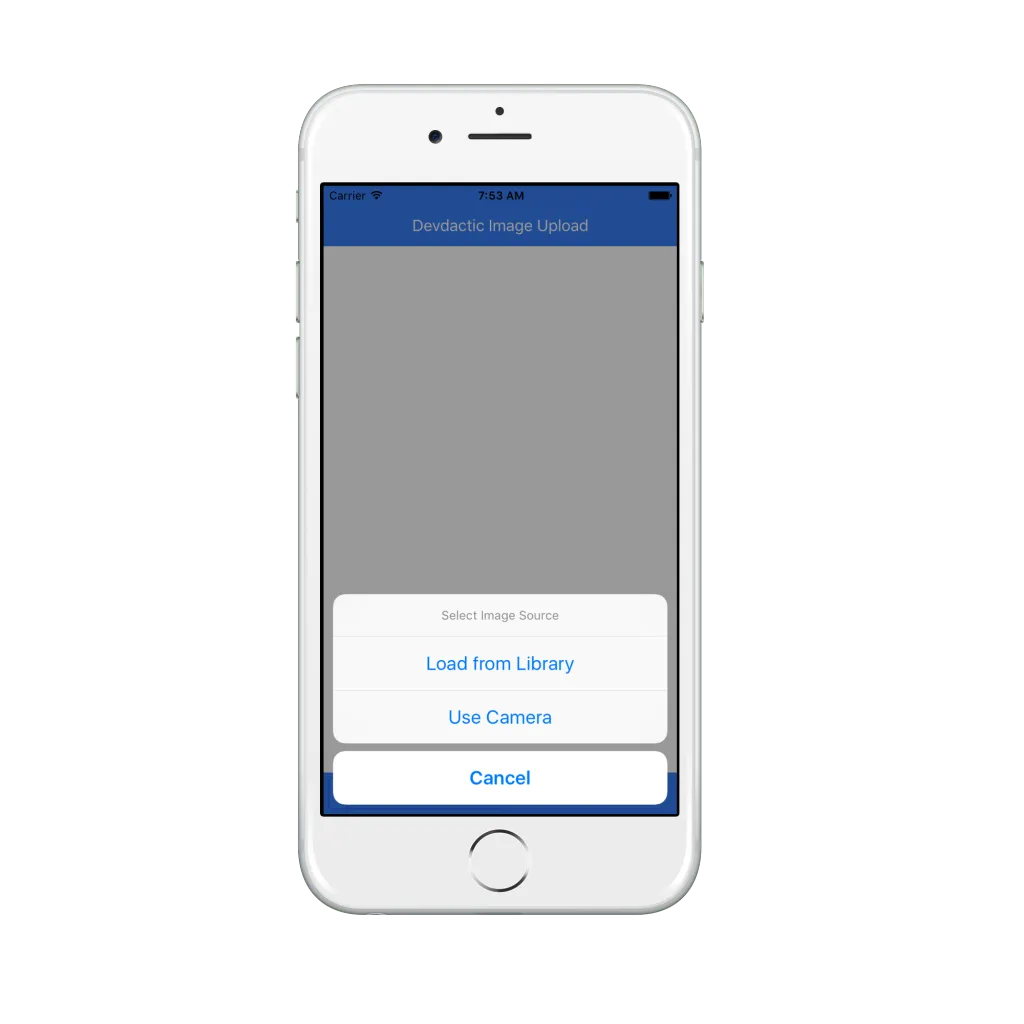 This is our next function, and the biggest one of this tutorial as well. Actually the code is only that long because we have special treatment for Android with photo library, all other cases already work with one part of the function.
I am not completely sure why we need this, but after long testing I found this solution to be working on iOS and Android with Camera and library as well, so if you had problems before, this code might fix it.
So first of all add the code, and we will see how it works below the snippet:
// Take image with the camera or from library and store it inside the app folder
// Image will not be saved to users Library.
$scope.selectPicture = function(sourceType) {
  var options = {
    quality: 100,
    destinationType: Camera.DestinationType.FILE_URI,
    sourceType: sourceType,
    saveToPhotoAlbum: false
  };

  $cordovaCamera.getPicture(options).then(function(imagePath) {
    // Grab the file name of the photo in the temporary directory
    var currentName = imagePath.replace(/^.*[\/]/, '');

    //Create a new name for the photo
    var d = new Date(),
    n = d.getTime(),
    newFileName =  n + ".jpg";

    // If you are trying to load image from the gallery on Android we need special treatment!
    if ($cordovaDevice.getPlatform() == 'Android' && sourceType === Camera.PictureSourceType.PHOTOLIBRARY) {
      window.FilePath.resolveNativePath(imagePath, function(entry) {
        window.resolveLocalFileSystemURL(entry, success, fail);
        function fail(e) {
          console.error('Error: ', e);
        }

        function success(fileEntry) {
          var namePath = fileEntry.nativeURL.substr(0, fileEntry.nativeURL.lastIndexOf('/') + 1);
          // Only copy because of access rights
          $cordovaFile.copyFile(namePath, fileEntry.name, cordova.file.dataDirectory, newFileName).then(function(success){
            $scope.image = newFileName;
          }, function(error){
            $scope.showAlert('Error', error.exception);
          });
        };
      }
    );
    } else {
      var namePath = imagePath.substr(0, imagePath.lastIndexOf('/') + 1);
      // Move the file to permanent storage
      $cordovaFile.moveFile(namePath, currentName, cordova.file.dataDirectory, newFileName).then(function(success){
        $scope.image = newFileName;
      }, function(error){
        $scope.showAlert('Error', error.exception);
      });
    }
  },
  function(err){
    // Not always an error, maybe cancel was pressed...
  })
};
The $cordovaCamera.getPicture call starts the photo selection, either by starting the camera or by opening the photo library. This part works fine, but now we actually want to copy that image from wherever it is currently to our app folder.
If we are now on Android and have selected the library as source type, we call some functions to resolveNativePath of the file, because the URL we get from the picker won’t work out of the box. Now we can resolve the correct path to a local filesystem URL and finally $cordovaFile.copyFile to the directory of our app.
We specify the cordova.file.dataDirectory, you can see where those folders are on the ngCordova documentation for the File plugin.
The else part for all other cases is quite short compared to the special treatment, and we do the same thing as above but now we can also call $cordovaFile.moveFile as we are allowed to move the file. In the previous section we could only copy the file to our directory.
Finally, in both cases we apply only the filename to our $scope.image variable, as we will resolve the rest of the URL with a function. You can add this function now:
// Returns the local path inside the app for an image
$scope.pathForImage = function(image) {
  if (image === null) {
    return '';
  } else {
    return cordova.file.dataDirectory + image;
  }
};
We simply return the directory of our app plus the image name. If you plan to store the image names, you can do this and create the correct path after startup again. If you would store the whole path you might get into problems as the path to your app folder could change over time!
So now we are already able to load an image into our app. The next part handles the upload to a simple PHP server.
If you want to learn Ionic 1 in detail, make sure to join my step-by-step course Ionic by Doing!
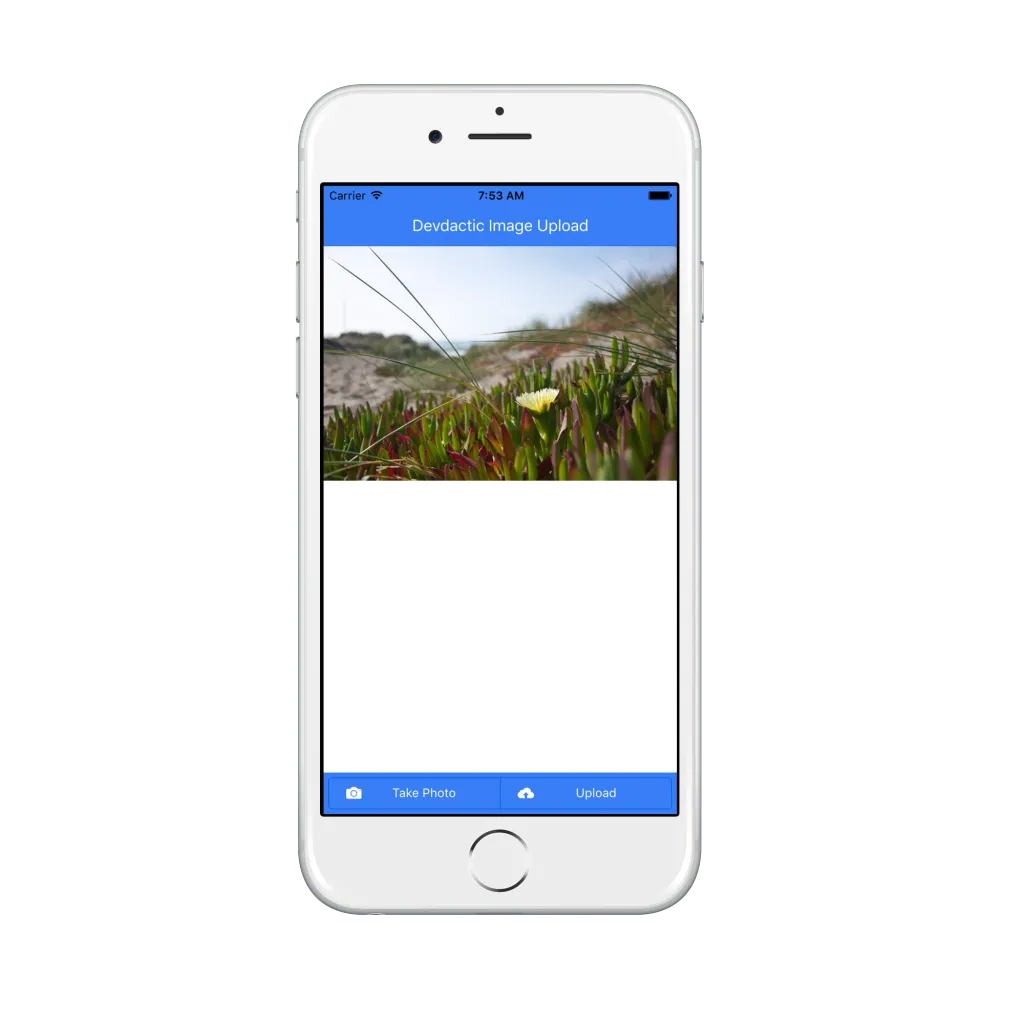
The image you choose should be visible inside your app view like in the image below.
Uploading our images from the App
The Ionic part for file upload is kinda easy. We need the URL to the server, the file and some parameters and then we can call $cordovaFileTransfer.upload to upload our file.
Sounds easy?
It is indeed, so go ahead and add the image upload function:
$scope.uploadImage = function() {
  // Destination URL
  var url = "http://localhost:8888/upload.php";

  // File for Upload
  var targetPath = $scope.pathForImage($scope.image);

  // File name only
  var filename = $scope.image;;

  var options = {
    fileKey: "file",
    fileName: filename,
    chunkedMode: false,
    mimeType: "multipart/form-data",
    params : {'fileName': filename}
  };

  $cordovaFileTransfer.upload(url, targetPath, options).then(function(result) {
    $scope.showAlert('Success', 'Image upload finished.');
  });
}
Obviously you might have to change the destination URL wherever your PHP server is. This tutorial won’t be complete with a solution for that accepting part, so go ahead to create your little PHP backend!
Creating our simple image upload PHP server
I am not using PHP frequently, but many of you asked for a PHP solution and I found it quite easy to setup this littler server to accept files. I am mostly more a fan of Firebase solutions as a Backend, but for this example PHP works perfectly.
If you have a server you can use that one, otherwise I simply recommend to download XAMPP and install it local.
I’m not going to cover that process since this is about Ionic image upload and not how to configure PHP. If you have set it up, you can first of all create a upload.php to accept uploads:
<?php
header('Access-Control-Allow-Origin: *');
$target_path = "uploads/";

$target_path = $target_path . basename( $_FILES['file']['name']);

if(move_uploaded_file($_FILES['file']['tmp_name'], $target_path)) {
    echo "Upload and move success";
} else{
echo $target_path;
    echo "There was an error uploading the file, please try again!";
}
?>
Also, make sure to create a uploads folder next to this file, as it will copy the images into that folder.
Additionally, to see the results of our hard work, I created a little HTML file that will scan the uploads folder and show them so we can directly see if our upload worked, Create this as index.php next to the previous file and insert:
<!DOCTYPE html>
<html>
<head>
  <meta charset="utf-8">
  <meta name="viewport" content="initial-scale=1, maximum-scale=1, user-scalable=no, width=device-width">
  <title>Devdactic Image Upload</title>
</head>
<body>
<h1>Ionic Image Upload</h1>
  <?php
  $scan = scandir('uploads');
  foreach($scan as $file)
  {
    if (!is_dir($file))
    {
        echo '<h3>'.$file.'</h3>';
      echo '<img src="uploads/'.$file.'" style="width: 400px;"/><br />';
    }
  }
  ?>
</body>
</html>
Now you got everything in place and can start your Ionic image upload adventures!
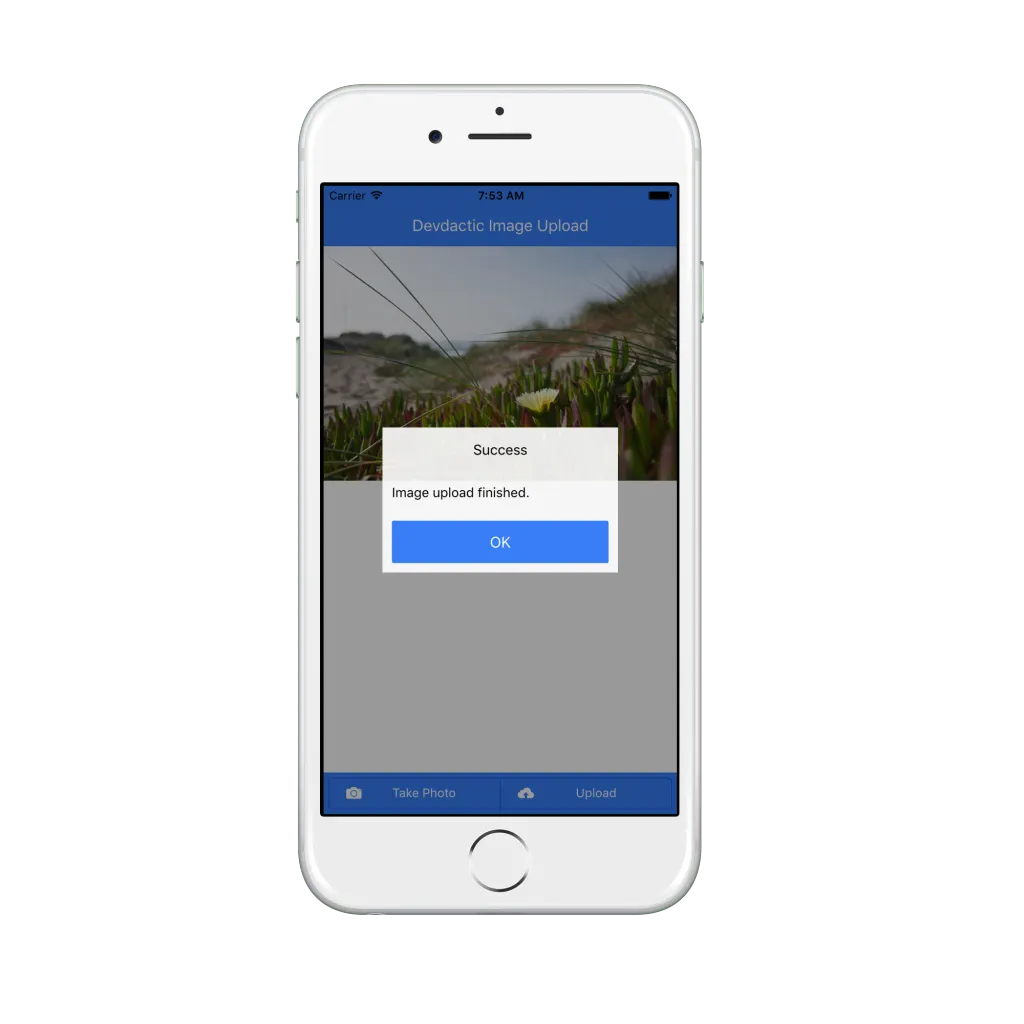
If you now pick an image and upload it, you should see this dialog as a result (after finished upload).
Conclusion
There are many problems related to ionic image capturing, loading them to the app and using them later. This tutorials shows a way to bypass those problems on iOS and Android plus how to use the local files inside your app to send them to a PHP server.
If you encounter problems or simply like the tutorial, leave a comment below and share it with your fellow developers!
Happy Coding, Simon