JWT Authentication with Ionic & Node.js - Part 1: The Auth Server Last update: 2018-11-13
There’s almost no topic that has appeared more often on this blog than user authentication and this new and updated guide will hopefully enable you to build your own Ionic app with user authentication!
In this two-part series we will build an Ionic App (so if you came here without prior knowledge you can check out my Ionic Academy!) in which users can create a new account, log in and access protected data.
We will achieve this by creating an API that we build in this first part using Node.js and MongoDB. We’ll not cover how to install MongoDB but I’m sure you’ll get it done in a minute on your own.
This server will use JSON Web Tokens for authentication which is one of the most common forms these days, and it’s also super easy to implement in our Angular app later. At the end of this first part your server will be up and running with some nice API routes!
Part 2: The Ionic App
Setting up the Server
We begin the adventure by creating our server inside an empty folder. The npm init will create a new package.json file for us and we then install all the needed packages so start your server with this:
mkdir api
cd api
npm init -y
npm install express body-parser jsonwebtoken passport passport-jwt mongoose bcrypt cors
After the packages are installed your package.json will look more or less like this:
{
  "name": "api",
  "version": "1.0.0",
  "description": "",
  "main": "src/server.js",
  "scripts": {
    "start": "node src/server.js",
    "test": "echo "Error: no test specified" && exit 1"
  },
  "keywords": [],
  "author": "Simon Grimm",
  "license": "ISC",
  "dependencies": {
    "bcrypt": "^3.0.2",
    "body-parser": "^1.18.3",
    "express": "^4.16.4",
    "jsonwebtoken": "^8.3.0",
    "mongoose": "^5.3.7",
    "passport": "^0.4.0",
    "passport-jwt": "^4.0.0"
  }
}
I’ve only changed the main entry point and also added the start script which will call our initial server file. For testing I also highly recommend that you install nodemon which helps to get live reload for your server while developing it!
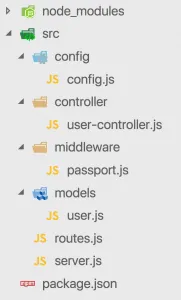
Next we need a bunch of files so go ahead and create the folder structure and files like in the image below.
We will go through each of those files now and fill our app with live. The first thing we can change is the config/config.js which holds some general values:
module.exports = {
    jwtSecret: 'long-live-the-ionic-academy',
    db: 'mongodb://localhost/ionic-jwt'
};
The secret will be needed for signing the JWT later and the database URI will be used for making a connection. Make sure your MongoDB is running when you test the up, but you don’t need to create the database upfront (like here with the name “ionic-jwt”) because it will be created for you.
You could also use a service like Heroku for hosting your server and having a MongoDB connected directly of course!
MongoDB Database Schema
To access documents of our database we will use an Object Database Modelling library called Mongoose. Therefore, we need to define our model upfront and later our app can easily store objects of that type to the database (or find, update…).
In our case we need to create a model for a user which has an email and password. Also, we need to make sure that passwords are never stored in clear text so we add a function that will be called before save and simply transforms the plain password into a hash value.
We also add the function to compare a password to the hashed password of a user which will be needed once we implement the login. For now open your models/user.js and insert:
var mongoose = require('mongoose');
var bcrypt = require('bcrypt');

var UserSchema = new mongoose.Schema({
  email: {
        type: String,
        unique: true,
        required: true,
        lowercase: true,
        trim: true
    },
  password: {
        type: String,
        required: true
    }
});

UserSchema.pre('save',  function(next) {
    var user = this;

     if (!user.isModified('password')) return next();

     bcrypt.genSalt(10, function(err, salt) {
         if (err) return next(err);

         bcrypt.hash(user.password, salt, function(err, hash) {
             if (err) return next(err);

             user.password = hash;
             next();
         });
     });
});

UserSchema.methods.comparePassword = function (candidatePassword, cb) {
    bcrypt.compare(candidatePassword, this.password, (err, isMatch) => {
        if (err) return cb(err);
        cb(null, isMatch);
    });
};

module.exports = mongoose.model('User', UserSchema);
Now we could store users to the database, so let’s focus a bit on authentication.
Passport JWT Middleware
For our JWT authentication we will use an additional package called passport which works with so-called strategies. In our case we need a JWT strategy and there’s also an additional package we use.
The idea is: If an endpoint is protected inside the server, we have to check for the Authorisation header field and see if it contains a valid JWT. And exactly this will be handled by our strategy.
After grabbing the token by using the fromAuthHeaderAsBearerToken() function we will try to find the user inside our database by calling User.findById(..) because our JWT payload will always contain the ID of a user.
All of this will be handled in the background as a middleware which is basically an additional handler of the incoming requests that can perform actions. You could have as many middleware functions as you want!
So add the code for our JWT middleware to your middleware/passport.js:
var User        = require('../models/user');
var JwtStrategy = require('passport-jwt').Strategy,
    ExtractJwt  = require('passport-jwt').ExtractJwt;
var config      = require('../config/config');

var opts = {
    jwtFromRequest: ExtractJwt.fromAuthHeaderAsBearerToken(),
    secretOrKey: config.jwtSecret
}

module.exports = new JwtStrategy(opts, function (jwt_payload, done) {
    User.findById(jwt_payload.id, function (err, user) {
        if (err) {
            return done(err, false);
        }
        if (user) {
            return done(null, user);
        } else {
            return done(null, false);
        }
    });
});
We will later tell our app and especially passport to use this strategy, for now let’s work on the login part.
Creating the Routes
As you might have noticed we are splitting up our code over multiple files to keep a nice structure in our project. A clean architecture is important to establish from the beginning!
Therefore we will now build the register and login function, which we can then add to the actual routes. You’ll see how in a second.
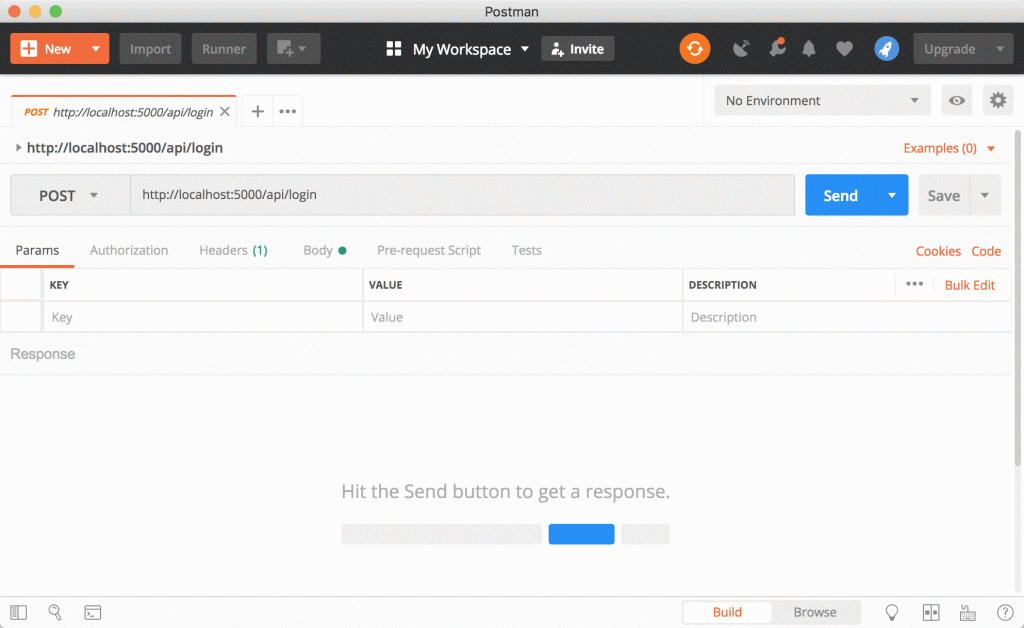
If a user wants to register we need to check if the request contains both email and password, and also if the email is not already in use. If all of that is fine we create a new user by simply passing the request body to the constructor of our user model. If we then call save() on the object it will be written to our database and a document is created like in the image below.

To inspect your database you can use a great tool like Robo 3T!
If a user want’s to login, we perform the same checks but now also compare the password he has sent with the stored one using the comparePassword function we have added to our model in the beginning. When the login is successful we will create a new JSON Web Token that we send back to the client. This token consists of the user id and email in our case but could contain more information. You can add an expiry time here so if you want to test things out either make it pretty long or short!
Now go ahead by adding the functions to our controller/user-controller.js:
var User = require('../models/user');
var jwt = require('jsonwebtoken');
var config = require('../config/config');
function createToken(user) {
return jwt.sign({ id: user.id, email: user.email }, config.jwtSecret, {
expiresIn: 200 // 86400 expires in 24 hours
});
}
exports.registerUser = (req, res) => {
if (!req.body.email || !req.body.password) {
return res.status(400).json({ 'msg': 'You need to send email and password' });
}
User.findOne({ email: req.body.email }, (err, user) => {
if (err) {
return res.status(400).json({ 'msg': err });
}
if (user) {
return res.status(400).json({ 'msg': 'The user already exists' });
}
let newUser = User(req.body);
newUser.save((err, user) => {
if (err) {
return res.status(400).json({ 'msg': err });
}
return res.status(201).json(user);
});
});
};
exports.loginUser = (req, res) => {
if (!req.body.email || !req.body.password) {
return res.status(400).send({ 'msg': 'You need to send email and password' });
}
User.findOne({ email: req.body.email }, (err, user) => {
if (err) {
return res.status(400).send({ 'msg': err });
}
if (!user) {
return res.status(400).json({ 'msg': 'The user does not exist' });
}
user.comparePassword(req.body.password, (err, isMatch) => {
if (isMatch && !err) {
return res.status(200).json({
token: createToken(user)
});
} else {
return res.status(400).json({ msg: 'The email and password don't match.' });
}
});
});
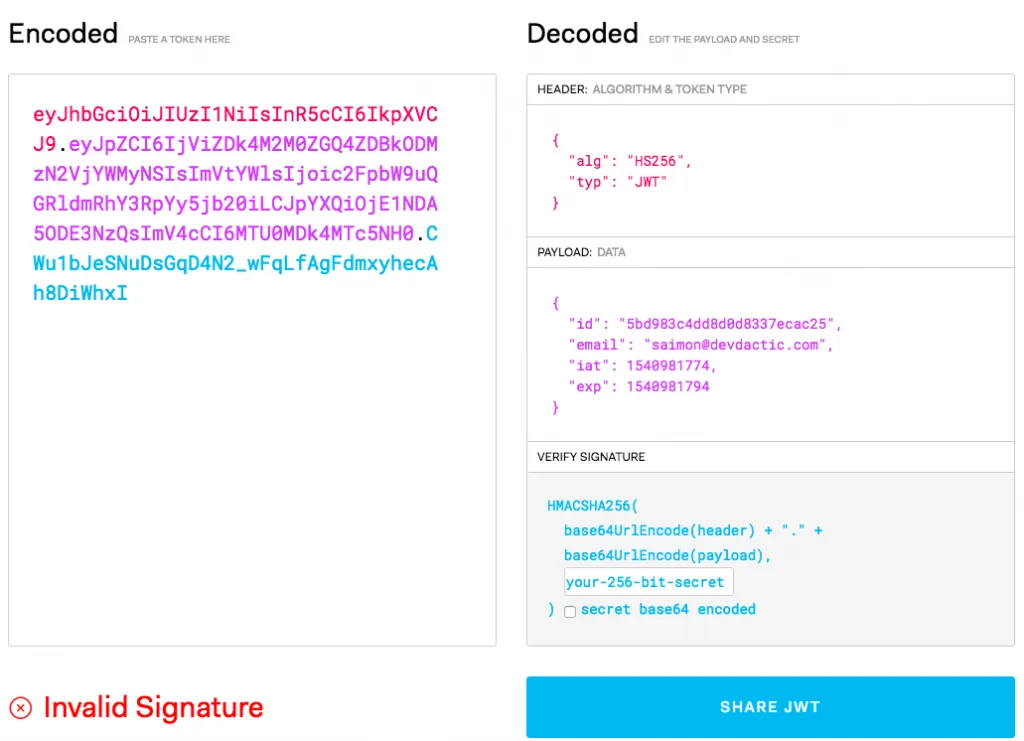
};Always keep in mind that you don’t add sensitive data to this token as others might intercept it. Below you can see what it looks like and how the payload is easily decoded without any additional knowledge, yet it’s invalid because attackers will (or should) never know about the secret used to sign it!
Because we have separated the actual functionality from the routes of our app we now need to establish some routing for the API. We will have 3 important routes in our case:
- POST /register: Create a new user document inside the database
- POST /login: Login a user to generate a new JWT
- GET /special: A JWT protected route that only users with a valid token can access
For the first 2 routes we can use both of the functions of our previous controller. For the third one we don’t need a special function as we just return some plain data, but here we will use our Passport middleware as the second argument of the chain!
All routes that we want to protect need this middleware so if you extend this tutorial simply add it to other routes as well or see how the basic / route behaves with and without the middleware.
Because we did a lot of the work upfront our routing is now pretty simple so change the src/routes.js to:
var express         = require('express'),
    routes          = express.Router();
var userController  = require('./controller/user-controller');
var passport	    = require('passport');

routes.get('/', (req, res) => {
    return res.send('Hello, this is the API!');
});

routes.post('/register', userController.registerUser);
routes.post('/login', userController.loginUser);

routes.get('/special', passport.authenticate('jwt', { session: false }), (req, res) => {
    return res.json({ msg: `Hey ${req.user.email}! I open at the close.` });
});

module.exports = routes;
Alright, we got all the function, routing and JWT authentication in place now we just need to connect everything and start the server.
Starting the Server with Everything we Have
To start our server we use Express and we have already used the router in the previous snippet from Express as well.
What’s important before we start our server is to tell it to use() our Passport package and also the middleware that we have created.
Also, the app will be available at http://localhost:5000 if you test it locally and all of our API routes that we added in the previous file will be available under http://localhost:5000/api because we tell our app to use the routes for /api.
By doing this you can structure your domains inside the server pretty great and have the code separated across multiple routing files and additional controllers!
Of course we finally need to create a connection to our MongoDB through mongoose and then we can finally tell our app to listen on the specified port and the magic begins.
All of the following goes into your src/server.js:
var express     = require('express');
var bodyParser  = require('body-parser');
var passport	= require('passport');
var mongoose    = require('mongoose');
var config      = require('./config/config');
var port        = process.env.PORT || 5000;
var cors        = require('cors');

var app = express();
app.use(cors());

// get our request parameters
app.use(bodyParser.urlencoded({ extended: false }));
app.use(bodyParser.json());

// Use the passport package in our application
app.use(passport.initialize());
var passportMiddleware = require('./middleware/passport');
passport.use(passportMiddleware);

// Demo Route (GET http://localhost:5000)
app.get('/', function(req, res) {
  return res.send('Hello! The API is at http://localhost:' + port + '/api');
});

var routes = require('./routes');
app.use('/api', routes);

mongoose.connect(config.db, { useNewUrlParser: true , useCreateIndex: true});

const connection = mongoose.connection;

connection.once('open', () => {
    console.log('MongoDB database connection established successfully!');
});

connection.on('error', (err) => {
    console.log("MongoDB connection error. Please make sure MongoDB is running. " + err);
    process.exit();
});

// Start the server
app.listen(port);
console.log('There will be dragons: http://localhost:' + port);
You can now run your server with multiple start commands whatever you enjoy the most (I’d recommend nodemon!):
nodemon src/server.jsnode src/server.jsnpm start
Conclusion
We have now built a simple server with the basic functionality for a user authentication system. In the second part we will start a new Ionic app and implement the JWT authentication on the frontend with Angular.
All of the code in here was now magic and hopefully encourages you to play around a bit with Node.js as an alternative to something like Firebase. Both are great but sometimes your own server just rocks!
You can also find a video version of this article below.