Ionic 2 Push Notifications In Detail Last update: 2017-02-21
The topic of Ionic 2 Push Notifications was requested many times on my original guide to Push Notifications with Ionic 1, and maybe even the most asked about feature right after user authentication.
In fact it’s not that hard at all to get it working with Ionic 2, the only problems that can arise are those coming from the certificate hell of iOS (and sometimes Android). Let’s se how we can get real Ionic 2 Push Notifications inside our hybrid app!
Prerequisite
Learning Ionic can become overwhelming, I know that feeling. Is learning from tutorials and videos sometimes not enough for you? Then I got something for you.
If you want to learn Ionic with step-by-step video courses, hands-on training projects and a helpful community who has your back, then take a look at the Ionic Academy.
iOS Certificate Setup
The Ionic team offers a very detailed guide on how to create the profiles you need, so I recommend you stick completely to this documentation on iOS Push Profiles.
Also, to generate these certificates you need a Mac and also need to be part of the Apple Developer Program. If you just joined now, you might also need to set up your general iOS Build Profiles, but you don’t need this step if you have already previously created iOS apps.
After going through the Push guide you need to have your App Id from the Identifier you created inside your Apple profile. Copy that ID and open your config.xml and add your ID:
<widget id="YOU_APP_ID" version="0.0.1" xmlns="http://www.w3.org/ns/widgets" xmlns:cdv="http://cordova.apache.org/ns/1.0">This is important because now your build iOS app will also have that bundle ID, which it needs to receive our pushes.
The last thing for iOS you need now is to upload the needed certificate into your Ionic.io security profile. You might have already done this as a final step of the Ionic guide, so just make sure that inside your security profile the Push Notification Service is set up correctly like this: 
Android Setup
The setup for Android is even a bit easier, because the certificate-signing-provisioning stuff get’s a lot easier. For Android you need to be inside the Google Developers program, and you also need to set up some basic keys (if you have never created Android apps before) using this documentation from Ionic to sign your apps.
If you have already worked with Android apps before you can skip that step.
The next step is to create a Google API project inside your dashboard and enabling Google Cloud Messaging. As I can’t describe it any better, please follow the advise on Android Push Profiles from Ionic.
After going through this steps you should have already added the API Key to your Ionic.io security profile (if not do now) and the result should look like this: 
Ionic 2 App Settings
After going through all of this, the rest becomes pretty easy. For testing I started with a blank new app and installed the by calling:
ionic start --v2 myApp blankAfter our app is ready (or just inside your folder if you already have an app) we need to install two things:
- The Ionic Cloud client to connect our App with Ionic.io
- The Cordova Plugin for Push Notifications
Keep your FCM Sender ID near because this is needed when adding the Cordova platform! Go ahead and run:
npm install @ionic/cloud-angular --save
cordova plugin add phonegap-plugin-push --variable SENDER_ID=12341234 --save
Make sure to put in your real sender id in that command of course.
Finally, we need to make our app available to Ionic Cloud. If you haven’t done before inside your app, simply run:
ionic io initIf you have no account you might need to create one first. The basic account is still free, so create one in order to sen out easy Ionic 2 Push Notifications.
Inside our app we need to configure our cloud connection as well. We need to set the id of our app (which we got back after calling the last init command, or which can be found inside your dashboard) and the FCM id again. Open the src/app/app.module.ts and insert:
import { NgModule, ErrorHandler } from '@angular/core';
import { IonicApp, IonicModule, IonicErrorHandler } from 'ionic-angular';
import { MyApp } from './app.component';
import { HomePage } from '../pages/home/home';
import { CloudSettings, CloudModule } from '@ionic/cloud-angular';

const cloudSettings: CloudSettings = {
  'core': {
    'app_id': 'your-ionic-cloud-app-id'
  },
  'push': {
    'sender_id': 'your-android-FCM-id',
    'pluginConfig': {
      'ios': {
        'badge': true,
        'sound': true
      },
      'android': {
        'iconColor': '#ff0000'
      }
    }
  }
};

@NgModule({
  declarations: [
    MyApp,
    HomePage
  ],
  imports: [
    IonicModule.forRoot(MyApp),
    CloudModule.forRoot(cloudSettings)
  ],
  bootstrap: [IonicApp],
  entryComponents: [
    MyApp,
    HomePage
  ],
  providers: [{provide: ErrorHandler, useClass: IonicErrorHandler}]
})
export class AppModule {}
After creating these settings, we need to tell our app to use them. Therefore we add the cloudSettings to our array of imports and load them for the CloudModule inside our module declarations.
The last step is to react on incoming push notifications. We can specify this behaviour wherever we want, but we need to make sure the platform is ready and all Cordova plugins are loaded.
In this case I used the first created component which is the entry point to our app anyway, so open the src/app/app.component.ts and insert:
import { Component } from '@angular/core';
import { Platform } from 'ionic-angular';
import { StatusBar, Splashscreen } from 'ionic-native';

import { HomePage } from '../pages/home/home';
import {
  Push,
  PushToken
} from '@ionic/cloud-angular';

@Component({
  templateUrl: 'app.html'
})
export class MyApp {
  rootPage = HomePage;

  constructor(platform: Platform, public push: Push) {
    platform.ready().then(() => {
      StatusBar.styleDefault();
      Splashscreen.hide();

      this.push.register().then((t: PushToken) => {
        return this.push.saveToken(t);
      }).then((t: PushToken) => {
        console.log('Token saved:', t.token);
      });

      this.push.rx.notification()
      .subscribe((msg) => {
        console.log('I received awesome push: ' + msg);
      });
    });
  }
}
You can do a lot more here, but the important part is to call register() so Ionic.io knows about your device. If you run this on a device, you should see your Push token inside the log. That is a good sign!
We also want to log incoming Push Notifications if the app is open, because otherwise you wouldn’t actually see them sometimes. If you app is closed you will of course see a banner at the top (unless you send silent pushes).
Make sure you can definitely see the successful log of the registration before trying the next steps!
Note: For iOS you will most certainly have a newer version of Xcode, therefore you need to enable the Push Notifications entitlements inside your project. Like in the image below, open the project settings with Xcode and navigate to Capabilities and switch it to on. Also, if you want to use silent background notifications at some point, enable ”Remote notifications” like in the image. 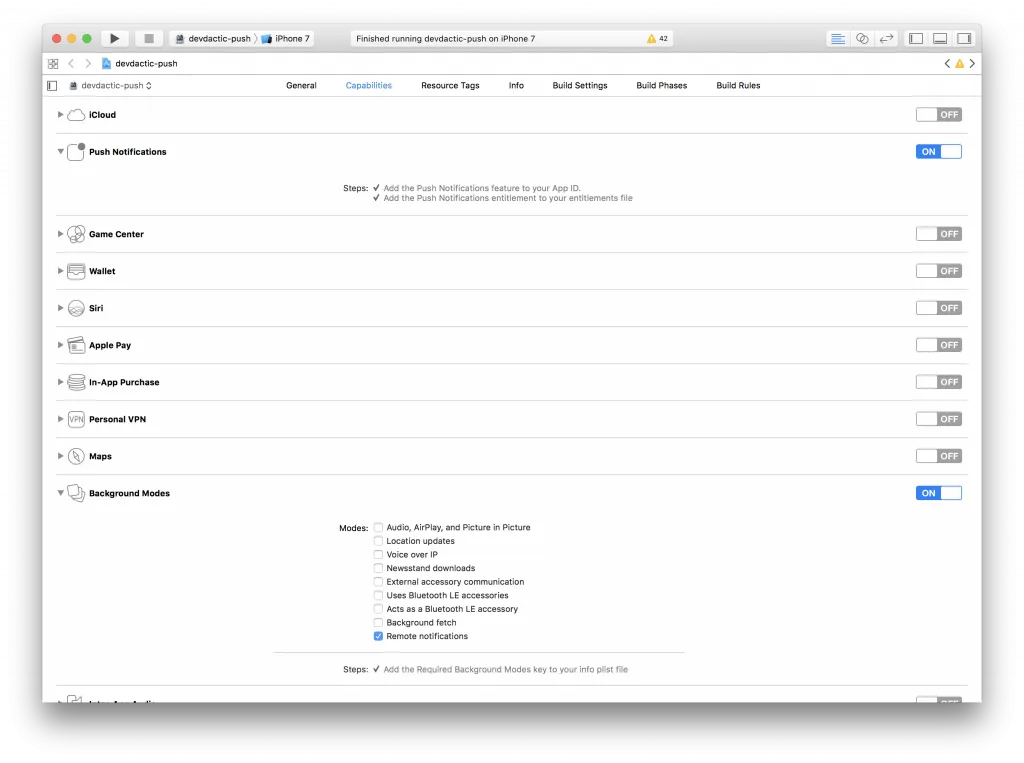
Sending out Push Notifications with Ionic Cloud
Make sure that you only launch your app on a real device from now on if you want to test Push Notifications. All of the following won’t work inside the browser!
So once you have started your app, you should see your Push token in the log which means you are subscribed to receive Push notifications. We are currently not segmenting our users, as we haven’t used the authentication features of Ionic Cloud. If you want to send more targeted Push notifications, you would need to integrate the authentication of Ionic cloud as well.
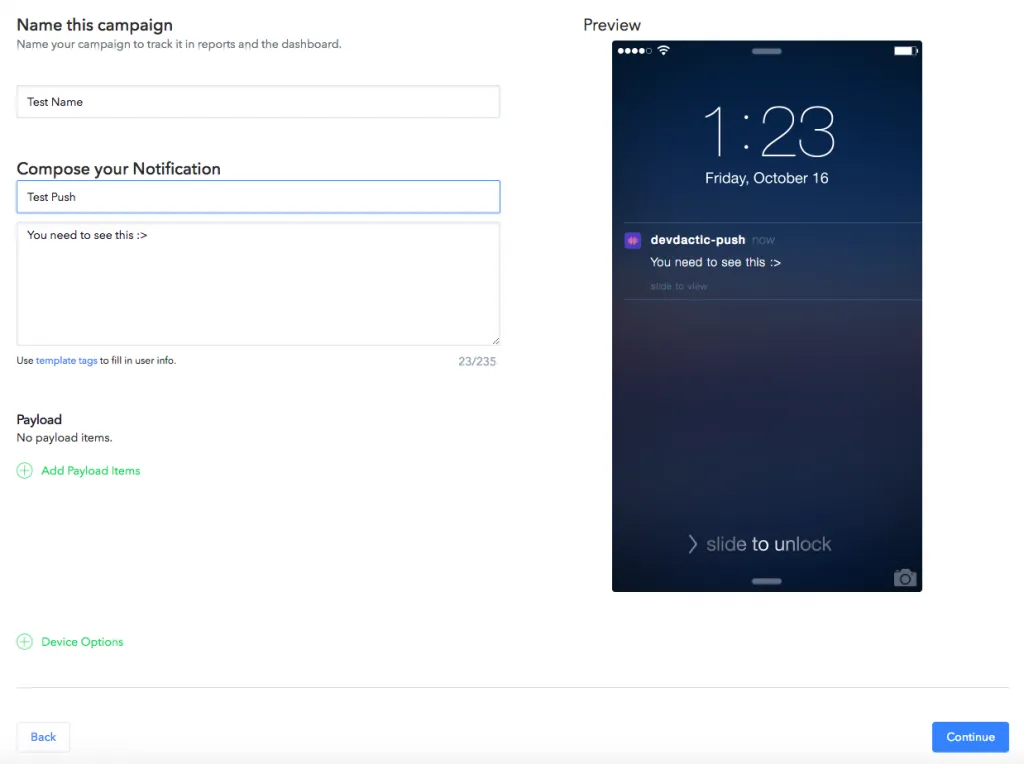
Anyway, we want to see Push in action so open the Dashboard of your app inside the Ionic Cloud, navigate to Push and click “Create New Push”.

Inside the new dialog you can now specify all kind of information for your push like title, the actual message, a payload or even device specific options.
Add whatever you like to and hit continue to get to the next step.
The next page allows to specify which users should get the Push, but as said before we are not using the authentication feature so we can’t select between different users by now. Leave the settings to “All users” and hit continue again.
Finally, you can select when the message will be sent and also which profile to use. Make sure to select the one you created in the beginning and then fire the railsguns! 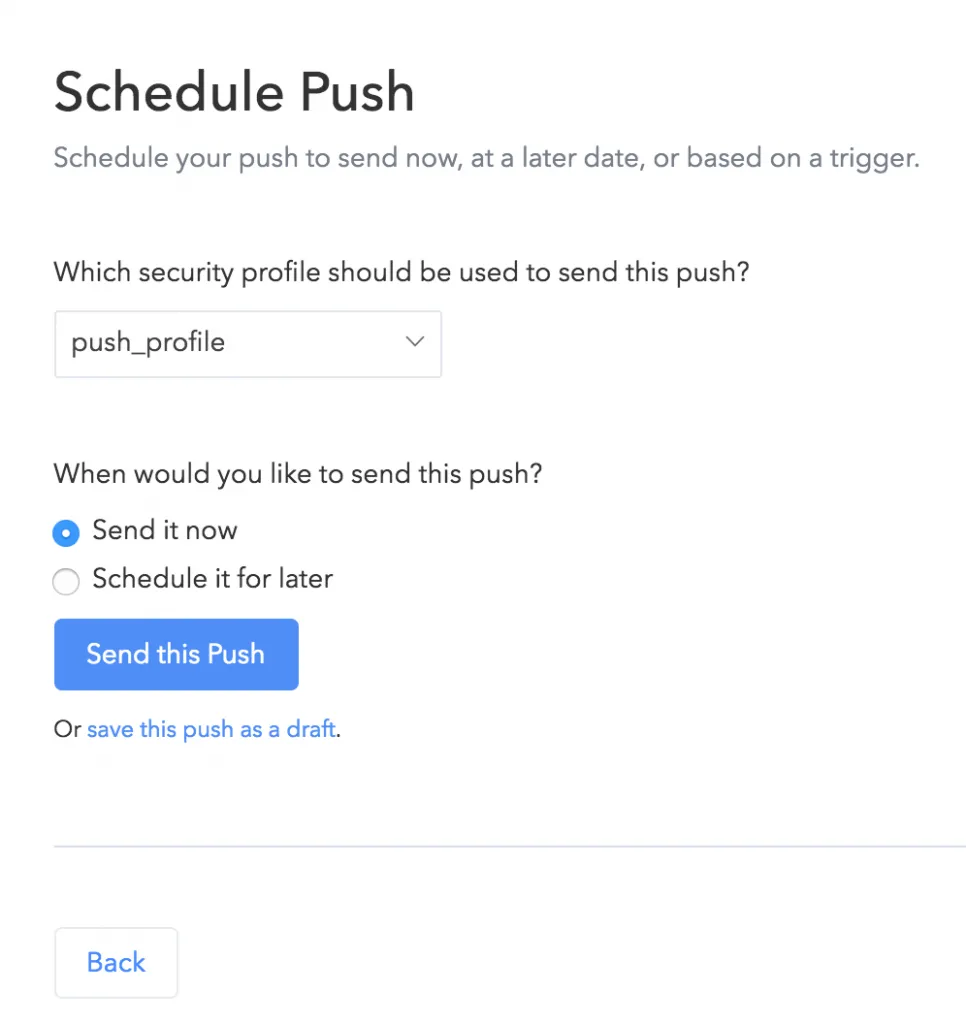
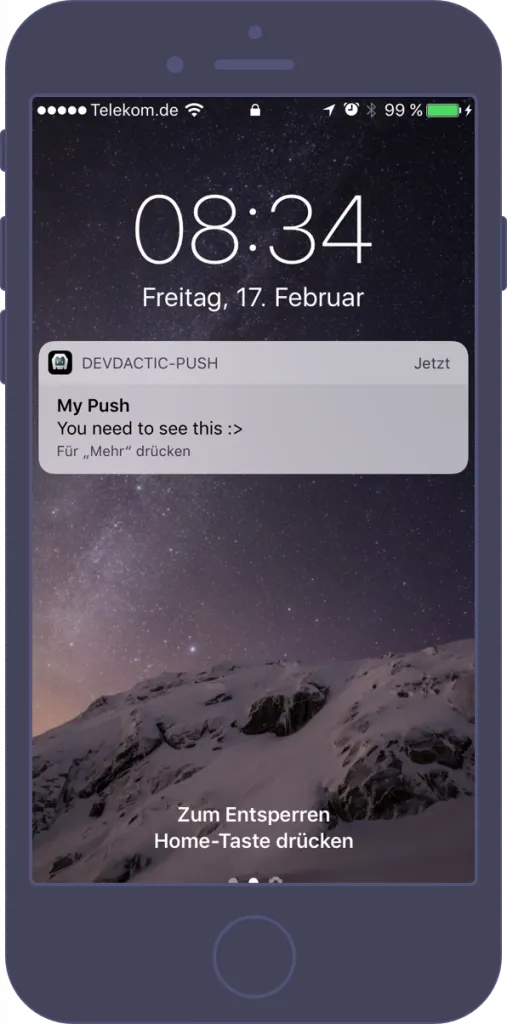
It may take some time, but finally you should be able to see your notification appearing on your device like below:
Conclusion
That’s it! You managed to create all the needed profiles and connected everything through the Ionic Cloud platform. If you need more targeted notifications, you could add the authentication mechanism. If you would like to see more on integrating the authentication, just leave a comment below!
Otherwise, you can also create a Push without the web interface by using the REST API. In that case as well leave a message if you want to see how it’s done.
Happy Coding, Simon