Dynamic Ionic 4 Slides with Shopping Cart Last update: 2018-10-16
When you work with structured data that is distributed in different categories and elements, chances are high you have looked out for a nice interface that allows to open/collapse categories while also allows to slide items horizontal in a visual appealing way.
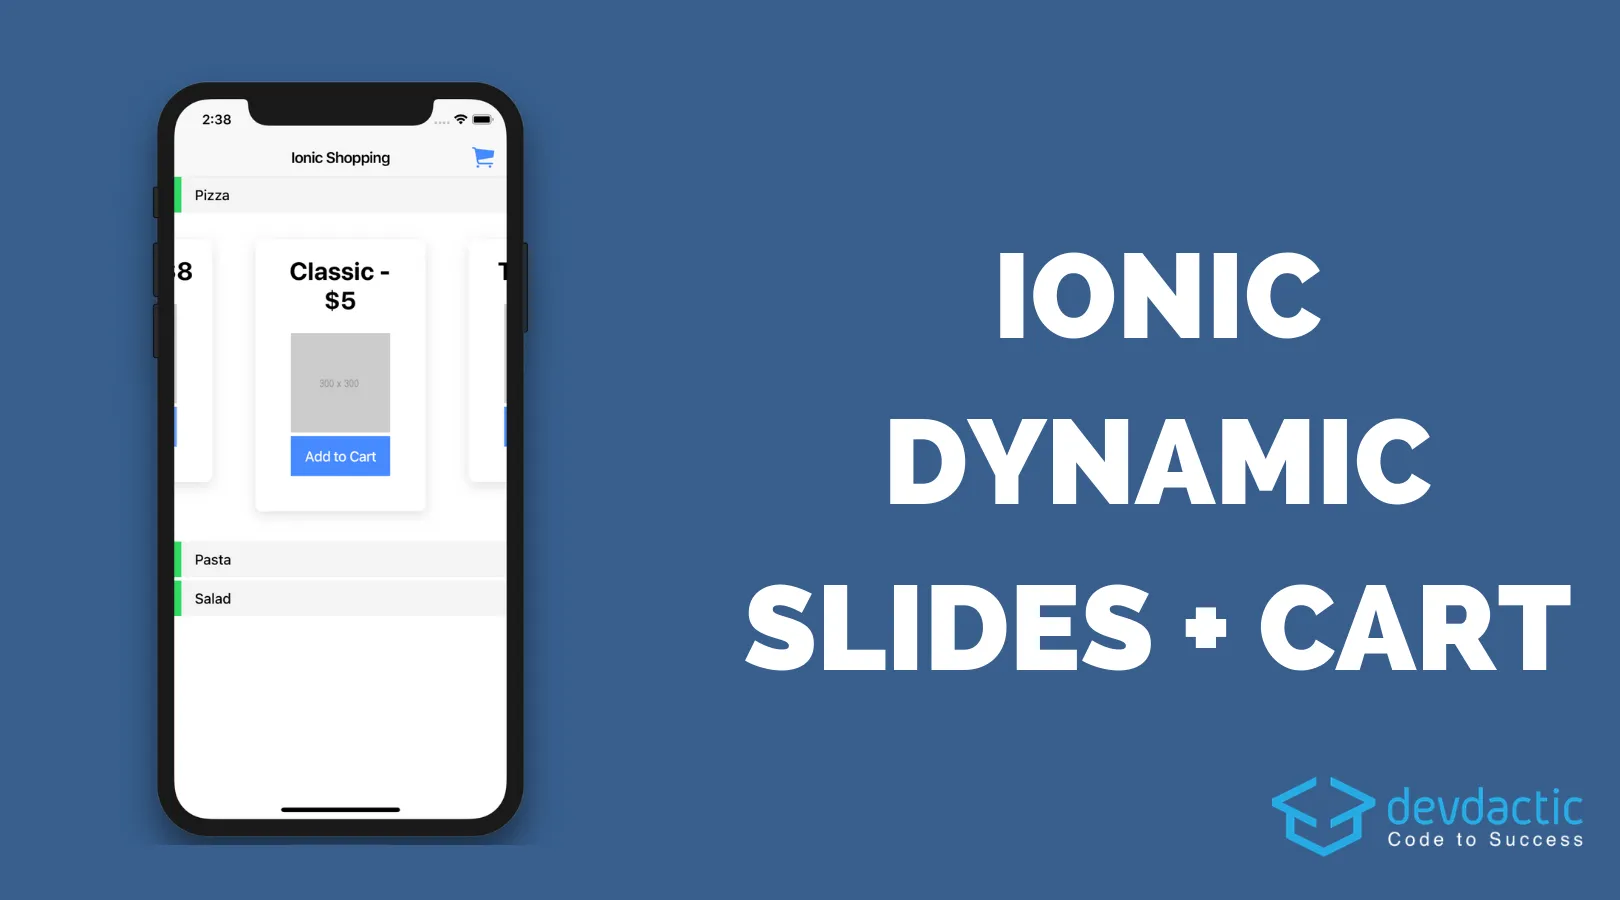
In this tutorial we will build a simple app that shows data in different categories with expandable views and dynamic slides based on the amount of items in each category.
Additionally we will also add a little shopping cart logic so we can add items to a cart and finally see how many Pizzas a user wants to order and how much it will cost!
Note: This tutorial was created with Ionic 4.0.0 Beta 7!
Starting Our Shopping App
For our example we don’t need any special packages, Ionic already has all the tools we need so go ahead and create a new app like this:
ionic start devdacticCategories blank --type=angular
ionic g page cart
ionic g service cart
We will use the new page to display the list of our cart and the service to keep track of the items, so let’s do this!
Creating a Cart Service
First we need some data because otherwise the example would be so static and you don’t really want this, right?
Therefore, our service will hold some dummy information for categories and products that you would typically get from your API.
Besides this information the service also keeps track of the cart where users can add products. For your own exercise you can also implement a remove function so users can edit their selection!
Because there’s nothing fancy inside go ahead and change your app/cart.service.ts to:
import { Injectable } from '@angular/core';

@Injectable({
  providedIn: 'root'
})
export class CartService {

  private data = [
    {
      category: 'Pizza',
      expanded: true,
      products: [
        { id: 0, name: 'Salami', price: '8' },
        { id: 1, name: 'Classic', price: '5' },
        { id: 2, name: 'Tuna', price: '9' },
        { id: 3, name: 'Hawai', price: '7' }
      ]
    },
    {
      category: 'Pasta',
      products: [
        { id: 4, name: 'Mac & Cheese', price: '8' },
        { id: 5, name: 'Bolognese', price: '6' }
      ]
    },
    {
      category: 'Salad',
      products: [
        { id: 6, name: 'Ham & Egg', price: '8' },
        { id: 7, name: 'Basic', price: '5' },
        { id: 8, name: 'Ceaser', price: '9' }
      ]
    }
  ];

  private cart = [];

  constructor() { }

  getProducts() {
    return this.data;
  }

  getCart() {
    return this.cart;
  }

  addProduct(product) {
    this.cart.push(product);
  }
}
Alright, now we can make use of this service from our overview and cart page!
Building The Ion-Slides Category View
As you have seen above we want to implement a view with categories and sliding elements inside each category. But before we get to that, we need to load the data from our service.
Also, we make use of the Angular router to navigate to our cart page which is the Ionic 4 way to navigate (or the general Angular way)!
Perhaps the most interesting part is the sliderConfig which will be passed to our slides inside the view. You can find the possible list of parameters on the Swiper documentation which is the underlying component for Ionic slides!
With that in mind you can now prepare your app/home/home.page.ts like this:
import { Component, OnInit } from '@angular/core';
import { Router } from '@angular/router';
import { CartService } from '../cart.service';

@Component({
  selector: 'app-home',
  templateUrl: 'home.page.html',
  styleUrls: ['home.page.scss'],
})
export class HomePage implements OnInit {

  cart = [];
  items = [];

  sliderConfig = {
    slidesPerView: 1.6,
    spaceBetween: 10,
    centeredSlides: true
  };

  constructor(private router: Router, private cartService: CartService) { }

  ngOnInit() {
    this.items = this.cartService.getProducts();
    this.cart = this.cartService.getCart();
  }

  addToCart(product) {
    this.cartService.addProduct(product);
  }

  openCart() {
    this.router.navigate(['cart']);
  }
}
Now we just need to display the information we got in an appropriate way. But easier said then done.
Basically, you iterate over the top level of your data (where each object has a category and items) and create a container for this information.
Then we create a new ion-slides component for each category which dynamically creates slides based on the products of that category.
Also, the first element in each category block is a row which is tappable so we can set the expanded variable that is checked later and is used to show or hide the content of the slides!
It’s a bit like the logic for the Accordion List I’ve shown you before!
Now go ahead and add all of this to your app/home/homepage.html:
<ion-header>
  <ion-toolbar>
    <ion-title>
      Ionic Shopping
    </ion-title>
    <ion-buttons slot="end">
      <ion-button (click)="openCart()">
        <ion-badge *ngIf="cart.length > 0">{{ cart.length }}</ion-badge>
        <ion-icon slot="icon-only" name="cart"></ion-icon>
      </ion-button>
    </ion-buttons>
  </ion-toolbar>
</ion-header>

<ion-content>
  <div *ngFor="let cat of items" class="category-block">

    <ion-row no-padding class="category-banner">
      <ion-col text-left button tappable (click)="cat.expanded = !cat.expanded" align-self-center>
        {{ cat.category }}
      </ion-col>
    </ion-row>

    <ion-slides [options]="sliderConfig">
      <ion-slide *ngFor="let product of cat.products">
        <div *ngIf="cat.expanded">
          <ion-card>
            <ion-card-header>
              <ion-card-title>
                {{ product.name }} - ${{ product.price }}
              </ion-card-title>
              <ion-card-content>
                <img src="https://via.placeholder.com/300x300">
                <ion-button expand="full" (click)="addToCart(product)">Add to Cart</ion-button>
              </ion-card-content>
            </ion-card-header>
          </ion-card>
        </div>
      </ion-slide>
    </ion-slides>

  </div>
</ion-content>
Besides our slides logic we have also added the cart button at the top to display the current count of the cart using a badge icon.
To make everything look a bit nice we add some CSS, but it’s not used to affect how the slides are presented, this is all done through our previous configuration!
If you want to make it look good, add this to the app/home/home.page.scss:
ion-badge {
    color: #fff;
    position: absolute;
    top: 0px;
    right: 0px;
    border-radius: 100%;
}

.category-block {
    margin-bottom: 4px;
}

.category-banner {
    border-left: 8px solid var(--ion-color-secondary);
    background: var(--ion-color-light);
    height: 40px;
    padding: 10px;
    font-weight: 500;
}
Now we can browse our categories and products but we still need to wrap things up with our cart page.
Creating the Cart Page
Inside this page we only need to retrieve the information from our service and transform it a bit so we can display it more easily.
You could also have this logic inside the service already, so whenever you add or remove a product you change a variable on that object. But I wanted to keep the service easy and only show this cart as one solution!
Therefore we have to iterate over the data and count the same products so we can finally calculate the total price based on the count and price of each product!
There’s not much more to it so go ahead and change your app/cart/cart.page.ts to:
import { CartService } from './../cart.service';
import { Component, OnInit } from '@angular/core';

@Component({
  selector: 'app-cart',
  templateUrl: './cart.page.html',
  styleUrls: ['./cart.page.scss'],
})
export class CartPage implements OnInit {

  selectedItems = [];

  total = 0;

  constructor(private cartService: CartService) { }

  ngOnInit() {
    let items = this.cartService.getCart();
    let selected = {};
    for (let obj of items) {
      if (selected[obj.id]) {
        selected[obj.id].count++;
      } else {
        selected[obj.id] = {...obj, count: 1};
      }
    }
    this.selectedItems = Object.keys(selected).map(key => selected[key])
    this.total = this.selectedItems.reduce((a, b) => a + (b.count * b.price), 0);
  }

}
The last missing piece is now the view for our cart which is pretty basic.
As we have prepared the data we can now loop over the entries and simply display the relevant information for each item. If you want to display a price you can also make use of the currency pipe which is build in, so finish the tutorial by changing the app/cart/cart.page.html to:
<ion-header>
  <ion-toolbar>
    <ion-buttons slot="start">
      <ion-back-button defaultHref="/"></ion-back-button>
    </ion-buttons>
    <ion-title>My Cart</ion-title>
  </ion-toolbar>
</ion-header>

<ion-content>
  <ion-list>
    <ion-item *ngFor="let item of selectedItems" lines="inset">
      {{ item.count }}x {{ item.name }} - {{ item.price | currency:'USD':'symbol' }}
      <ion-label slot="end" text-right>{{ (item.price * item.count) | currency:'USD':'symbol' }}</ion-label>
    </ion-item>
    <ion-item>
      Total: <span slot="end">{{ total | currency:'USD':'symbol' }}</span>
    </ion-item>
  </ion-list>
</ion-content>
And now you got a nice dynamic sliding list view with expandable components plus simple shopping cart logic!
Of course there are many areas to improve here, also some animations could make everything look even nicer so if you are interested in anything particular, please share your thoughts below!
You can also find a video version of this tutorial below.