Automatic Ionic 2 Builds For iOS Using Fastlane Last update: 2017-03-21

When your project get’s close to release, it’s time to think about decent ways to build your Ionic app. Of course you can do this by hand, but if you are having multiple apps and configurations this can get out of hand very fast. Also, the iOS upload process takes time - which you actually don’t need to spend because Fastlane exists!
Prerequisite
Learning Ionic can become overwhelming, I know that feeling. Is learning from tutorials and videos sometimes not enough for you? Then I got something for you.
If you want to learn Ionic with step-by-step video courses, hands-on training projects and a helpful community who has your back, then take a look at the Ionic Academy.
In this post I will show you how you can automate your Ionic builds for iOS (later maybe Android as well) using the famous Fastlane tool. We will integrate the script and achieve automatic build & upload to iTunes connect Testflight. As a little bonus we will also post to a Slack channel!
In fact there are many configuration files you have to prepare, but don’t be scared. Once you got all of them for your project setup, you can build & upload your apps with one command!
That worth it, isn’t it?
If you want all of the created files of this article in one package, simply insert your email below.
What is Fastlane
 Over time, Fastlane has developed into the tool to release iOS and now even Android apps. Fastlane is made up of different modules where each covers one specific aspect of the distribution process of your app.
The Ionic build leaves you with a native project, but most developers coming to Ionic might not really be familiar with Xcode or how to submit your apps.
Fastlane can be used to create your app entry using the command line, to create the profiles and certificates for your app, to build and upload a correctly signed package and to do many more things which can’t be all covered right here.
Whether you are using a Continuous Integration server like Jenkins or just want to be able to upload your iOS apps with one click, Fastlane can save you a lot of time over the lifetime of your app.
As they say it’s ”The easiest way to automate building and releasing your iOS and Android apps“.
And that is really true.
Setting up everything we need
To get started with Fastlane you need to install and configure some dependencies. First of all we need to install Fastlane using Ruby. If you are on a Mac you can update Ruby using Homebrew, if you are not on a Mac or not using Homebrew make sure to have Ruby installed and up to date.
Once this is done you can install the “gem” (the name for Ruby packages) by running:
sudo gem install fastlane -NV
gem install bundler
We also install Bundler which helps us to install the right ruby packages inside our environment.
As said before, Fastlane consists of different modules and we are using a special module called Match to handle all certificate creation and signing for us. Match will dramatically simplify the iOS code signing process for you. The idea is that all certificates and profiles will be stored in a separate Git repository.
By doing this, everyone from your team has access to the right profiles and can build the apps without any problems. But you need to have a Git repository in place for Match!
The easiest way is to create a private repository on either Github (paid account) or on Bitbucket (free account).
So make sure to have the repository URL at hand once we configure our match settings later!
Bonus: Slack integration
If you like fancy things, you can let Fastlane directly post to your Slack channel!
If you can manage your Slack team, the setup is quite simple. Simply go to the website of your channel and manage plugins.
From there, add an Incoming Webhook like in the image below.
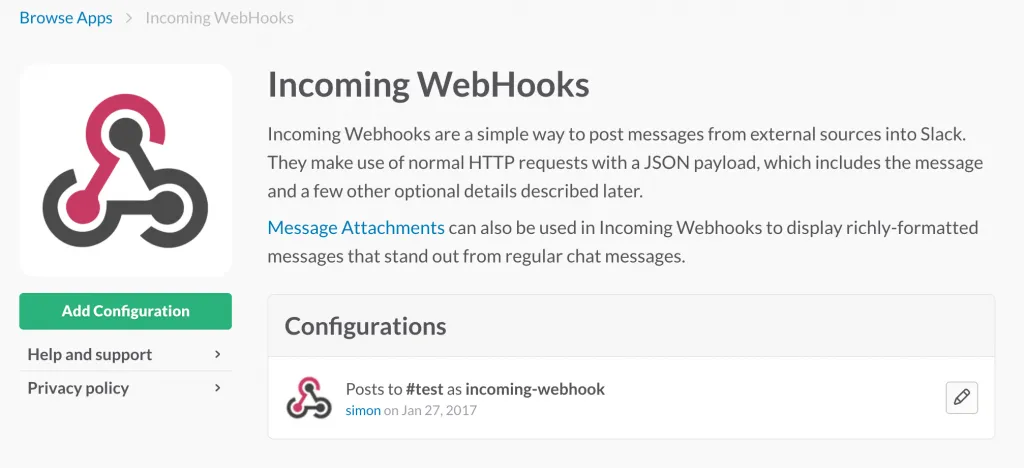
Inside the configuration you can add the channel where Fastlane will post, and finally make sure to copy the Webhook URL as this is the URL Fastlane needs later.
Configure Basic Fastlane Settings
Ok, until now we actually haven’t done anything special with Fastlane so let’s change that.
Inside your Ionic 2 project, create a folder called ”automatic-build”. Inside that folder we will keep everything related for our build process. First of all, we add simple bootstrap file to init everything we need, so create a bootstrap.sh with the content:
ngem install fastlane-plugin-update_project_codesigning -v 0.2
bundle package
echo "Fastlane setup finished!"
Execute that file and you have the plugin we need to update our Xcode settings installed.
Next to that file we create a environment file which will hold some general information for Fastlane. Create a ”.env” file and insert:
CUSTOM_APP_NAME="YOURAPPNAME" # Your App Name (like in config.xml)
CUSTOM_APP_ID="com.xyz.name" # Your bundle ID
CUSTOM_TEAM_ID="123456789" # Your iOS Developer Team Id
SLACK_URL="https://hooks.slack.com/services/...." # Your Slack Webhook URL
FL_PROJECT_SIGNING_FORCE_UPGRADE = "true" # Just add it, needed to automatically do everything.
Now, next to the stuff created before, we create another folder called fastlane which needs a few files:
- Appfile - Holds information about our App and Developer Account
- Gymfile - Information for building the native iOS project
- Matchfile - Retrieve the profiles from the Git repo
- Fastfile - The file with the actual Fastlane tasks
This might seem like a lot of configuration, and you are absolutely right. But once you have everything configured and run your automatic build the first time, you will know everything was worth the effort!
Make sure to replace the dummy values in some of the files with your own values.
We start with the Appfile which holds some general information about our app:
app_identifier "com.xyz.yourname" # The bundle identifier of your app
apple_id "your.name@gmail.com" # Your Apple ID Email address
team_id "12345678"  # Developer Portal Team ID
itc_team_id "12345678" # Your iTunes Connect Team ID
Next, the Gymfile has the information to the path of our Xcode project, as we are not in a native iOS project but still in an Ionic project (you almost forget that, right?). So here we “cheat” some paths for Fastlane so it finds all the needed files & folders:
scheme "YourName" # Scheme of your native app, just the Name from config.xml
project "../platforms/ios/YourName.xcodeproj" # Should be the path to the iOS project
output_directory "./build" # Where the app will be build to
output_name "MyApp" # Final output for the IPA
Next the Matchfile, this file has the information for your repository where all your signing certificates will be kept:
ngit_url "git@bitbucket.org:yourrepo.git" # Repository for Match
type "appstore"
Finally, the Fastfile is the most important file as it does the actual work. In this file you can specify “lanes” which you can than run via Fastlane. For now, we just add the minimum and add the 2 lanes in the following steps:
# This is the minimum version number required.
# Update this, if you use features of a newer version
fastlane_version "2.11.0"
require 'xcodeproj'

default_platform :ios

platform :ios do

# Put in Lanes here!

end
Alright, if you got to this point I can promise that things will get easier now. We are done configuring everything and can get to work.
Creating a new iOS App with Fastlane
If you have ever released an iOS app you now the process can get out of hand a bit. You need to create various ID’s and profiles everywhere, and if you don’t know what you are doing you get lost soon.
Lucky us, we can now rely on Fastlane to handle the hard part of the app creation!
If you have added all the needed information before, just add this lane to your Fastfile where you currently have the comment and replace the values inside the lane with your own:
  lane :newApp do
    produce(
        username: 'my.email@gmail.com', # Your iTunes ID
        app_identifier: 'YOUR.BUNDLE.ID', # Your App Bundle ID
        app_name: 'MyApp', # Your App Name
        language: 'English',
        app_version: '1.0',
        sku: '123',
        team_name: 'Your Name' # only necessary when in multiple teams
      )

    # Post to Slack
    slack(
      message: "Created new App!"
    )
  end
To run this lane, simply call:
fastlane newAppYou might get asked for some passwords here, so enter them and your app with all the needed certificates on the Developer Portal (including the iTunes Connect entry!) will be created.
If you hit any problems at this point, you can of course also setup everything by hand just like you normally do.
Configuring our Fastlane Build
Alright, all of this before only needs to be setup once, now it’s time to prepare our actual app to be compiled and build with Fastlane.
Make sure all your variables are setup correct and especially your bundle ID inside your config.xml matches the one you have specified inside the Fastlane files.
Our next Lane will do everything from building the native iOS project, downloading signing certificates, changing entries in the project, creating the IPA file and uploading to iTunes Connect.
All of that can take you a lot of time, so again, this is really worth it.
Open your Fastfile and add this Lane:
desc "Submit a new Beta Build to Apple TestFlight"
  lane :beta do
    # Fetch and Create Profiles
    match

    # Retrieve App Name and ID from environment
    name = ENV['CUSTOM_APP_NAME']
    app_id = ENV['CUSTOM_APP_ID']
    team_id = ENV['CUSTOM_TEAM_ID']

    xcodeprojpath = "../platforms/ios/" + name + ".xcodeproj"

    # Update Code Signing
    update_project_codesigning(path: xcodeprojpath, use_automatic_signing: false, team_id: team_id)

    # Patch Project Settings
    proj = Xcodeproj::Project.open("../" + xcodeprojpath)

    proj.build_configurations.each do |item|
        item.build_settings['DEVELOPMENT_TEAM'] = team_id
        item.build_settings['CODE_SIGN_IDENTITY[sdk=iphoneos*]'] = "iPhone Developer"
        item.build_settings['PROVISIONING_PROFILE_SPECIFIER'] = "match AppStore " + app_id
    end

    proj.recreate_user_schemes
    proj.save
    # End of Patching Project Settings

    increment_build_number({
      build_number: latest_testflight_build_number + 1,
      xcodeproj: xcodeprojpath
    })

    # Build the IPA
    gym

    # Upload the IPA to Testflight
    testflight(
       skip_waiting_for_build_processing: true,
       ipa: "./build/MyApp.ipa"
    )

    # Post to Slack
    slack(
      message: "Successfully Upload " + name + " to ITC Testflight",
      default_payloads: [:git_branch, :last_git_commit_message]
    )
  end
Make sure to replace values with your own where needed, and then you are ready to go for it big time.
Build & Upload your App
Finally, I like to have one file to invoke everything. Therefore, we go back to the root of our Ionic 2 project and create a buildIOs.sh with the following content:
ionic build ios
cd automatic-build
fastlane beta
This script will first of all build the ionic project so we got our native iOS project and then switch to our automatic-build folder and do the Fastlane magic!
Again, you might be asked for keys here & there in the beginning but after adding them once Fastlane should work without any further attention.
Fastlane will now build, sign and upload your app which can take 5-10 minutes depending on size, speed of connection and the Apple servers.
Brew some good coffee and let fast lane do your job until it’s finished!

Start Testing your iOS App
Once Fastlane is finished (you might have a notification in your Slack channel!) Apple takes some minutes to process the build. You will also receive an Email once that is finished.
If you now login to iTunes Connect and switch to the TestFlight tab, you can see the uploaded version and select it for testing.
Add you testers, start the testing and enjoy your new freedom and saved time!
Conclusion
You might have to tweak the process and files here and there, change some credentials or install needed dependencies but overall it will work in the end and you will save a lot of time, especially if integrated with a CI environment like Jenkins!
The setup with Fastlane is also possible for Android, so in case you are interested let me know and I’ll try to work out the Android automatic build as well.
Happy Coding, Simon