Understanding Angular Routing in Ionic Apps Last update: 2019-07-09

While the Angular Router has been around for quite some time, Ionic developers only started to use it since version 4 (or before if you were into pure Angular as well). Because some of the UI patterns are not that easily transferred to the new way of routing many of you had problems during the migration phase of your apps or simply getting started with v4.
Today we’ll take a look at the most used routing aspects inside our Ionic app and how they actually play together, how we can make different routing possible and how the Angular router actually works!
The first part of this post is actually also in my article about Navigating the Change with Ionic 4 and Angular Router on the official Ionic blog!
The Entry Point of Your App
When you inspect the folders of your app, you’ll find one HomePage at the src/app/home path. This is the page you see on screen (compare it’s HTML with what you see if you don’t trust me), but how is it actually loaded?
To understand this we need to open our app/app-routing.module.ts in which we will find:
import { NgModule } from '@angular/core';
import { Routes, RouterModule } from '@angular/router';

const routes: Routes = [
 { path: '', redirectTo: 'home', pathMatch: 'full' },
 { path: 'home', loadChildren: () => import('./home/home.module').then( m => m.HomePageModule) },
];

@NgModule({
 imports: [RouterModule.forRoot(routes)],
 exports: [RouterModule]
})
export class AppRoutingModule { }
This is the first place for routing information in our app and the place where we can add more information about how our app works. Right now, we have two routes defined inside the array.
The first, is actually a simple redirect that will change the empty path ‘’ to the ‘home’ path, so it’s like going to google.com/ and being redirected to google.com/home.
Inside the definition for the home path we can now spot the loadChildren key in which we supply a path to the module file of our home page. This module file holds some information and imports for the page, but you can think of it as the page that gets displayed.
Ok, cool, we now have a router and are loading a page through a path, so how is this connected with actual HTML or the index page of the app?
If you happen to inspect your index.html the only thing you’ll find is:
<body>
 <app-root></app-root>
</body>
The only thing we display is an app-root, which is still not very clear. This app root is replaced by the first real HTML of our app, which is always inside the app/app.component.html:
<ion-app>
 <ion-router-outlet></ion-router-outlet>
</ion-app>
This is the key to understanding how the routing works: The Angular Router will replace router outlets with the resolved information for a path.
This means inside the body, at the top-level, we have this special Ionic router outlet (which is the standard Angular outlet plus some animation extras) wrapped inside a tag for the Ionic app itself. Once we navigate to a certain path, the router will look for a match inside the routes we defined, and display the page inside the right outlet.
We needed this short detour to get a solid understanding about why the things we’ve done work as they do.
Basic Routing Concepts
So router outlets inside our app will be replaced by the Angular Router whenever we find a path match. For all pages that you somehow want to access inside your app, you need to define a path.
The good thing (sometimes, not always) is that when you use the Ionic CLI to create new pages, a new routing entry will be added automatically. You can run inside your project the command to generate new pages like this:
ionic g page list
ionic g page details
You routing inside the app-routing.module.ts now holds the information for a new path:
import { NgModule } from '@angular/core';
import { PreloadAllModules, RouterModule, Routes } from '@angular/router';

const routes: Routes = [
  { path: '', redirectTo: 'home', pathMatch: 'full' },
  { path: 'home',loadChildren: () => import('./home/home.module').then( m => m.HomePageModule) },
  { path: 'list',loadChildren: () => import('./list/list.module').then( m => m.ListPageModule) },
  { path: 'details', loadChildren: () => import('./details/details.module').then( m => m.DetailsPageModule) },
];

@NgModule({
  imports: [
    RouterModule.forRoot(routes, { preloadingStrategy: PreloadAllModules })
  ],
  exports: [RouterModule]
})
export class AppRoutingModule { }
This means, your app can now show content at these routes:
- /home: The content of the home.page.html
- /list: The content of the list.page.html
- /details: The content of the details.page.html
In order to access one of these pages you need to use the Angular router, and you can navigate to a page both from the HTML code and also from the TS file, and both in different ways:
  <!-- Plain String -->
<ion-button routerLink="/list">Open List</ion-button>

<!-- Array with path segments  -->
<ion-button [routerLink]="['/', 'list']">Open List</ion-button>

// Just a string
this.router.navigateByUrl("/list");

// Again an Array
this.router.navigate(["/", "list"]);
All of these formats have the same outcome, they will open the path /list.
And because we told the Angular Router to load the './list/list.module' when the path matches /list, the exact page will be displayed!
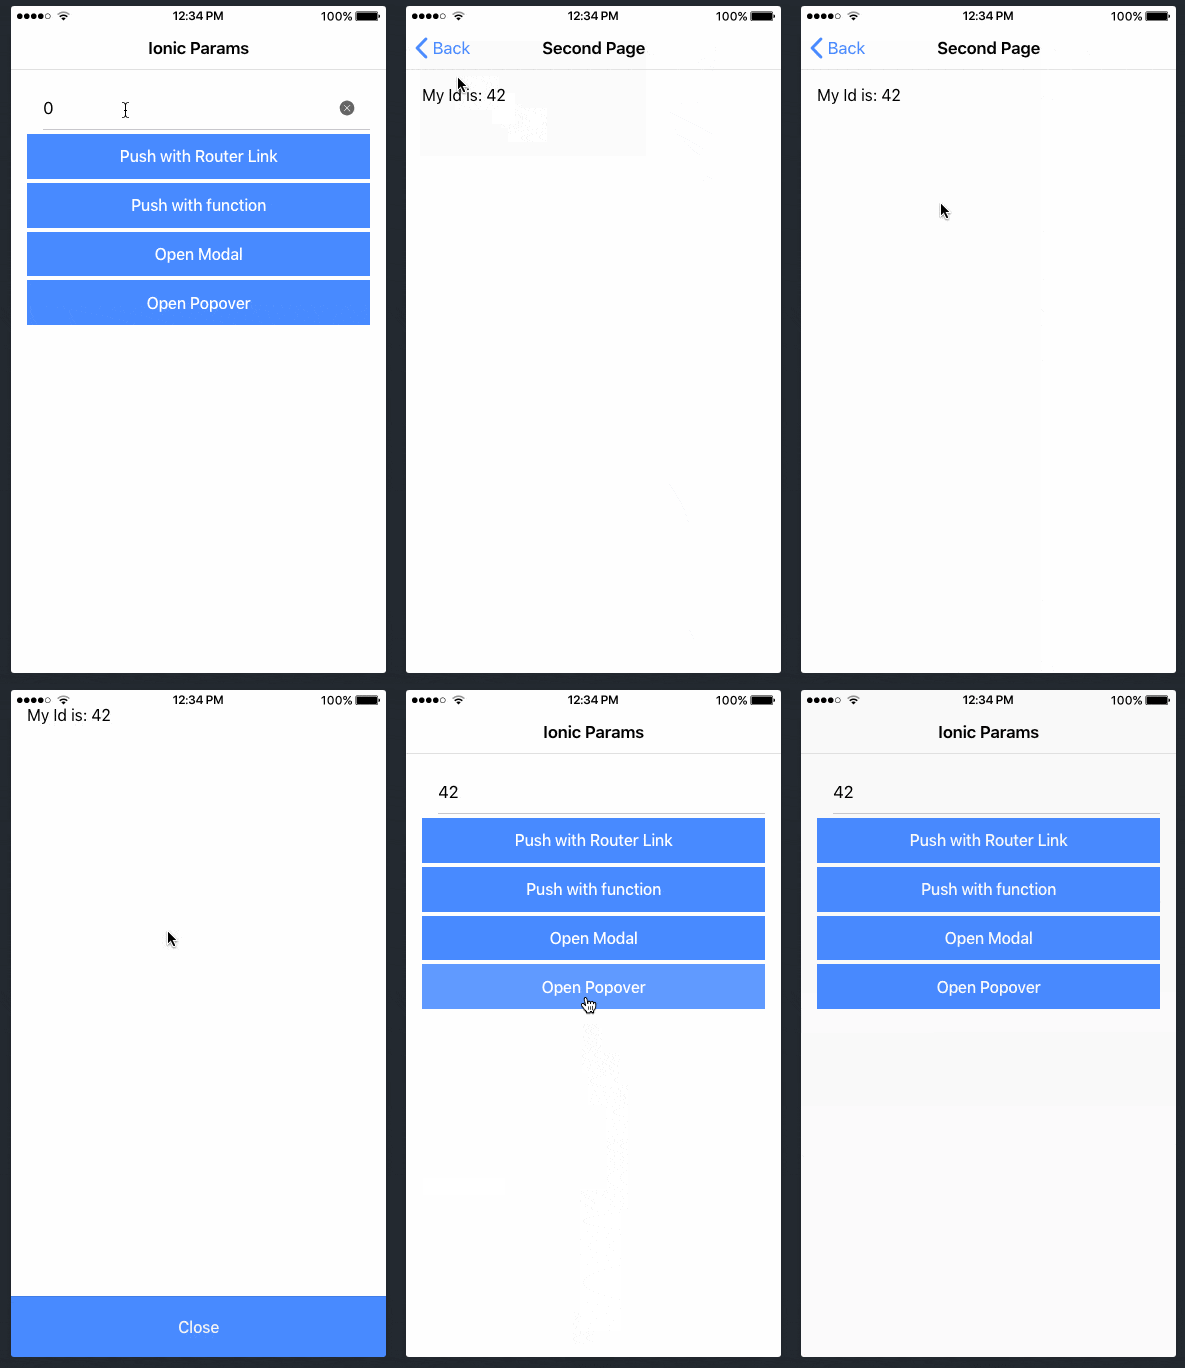
Passing Parameters to a Details Page
Once you need to pass more information to the next page, you need to select a way for your app to pass around data. Basically there are three ways to do so:
- Have a service that stores the information, then load the information through that service on the new page
- Pass an ID with the URL to the next page, and then make a new request to your API (or maybe your service if you cache responses) in order to get the data for the specific ID of an object
- Use the Navigation Extras introduced with Angular 7.2
All of these are legit solutions if done correctly, and you can read more about how to implement them inside my Quick Win about How to Pass Data with Angular Router in Ionic on the Ionic Academy.
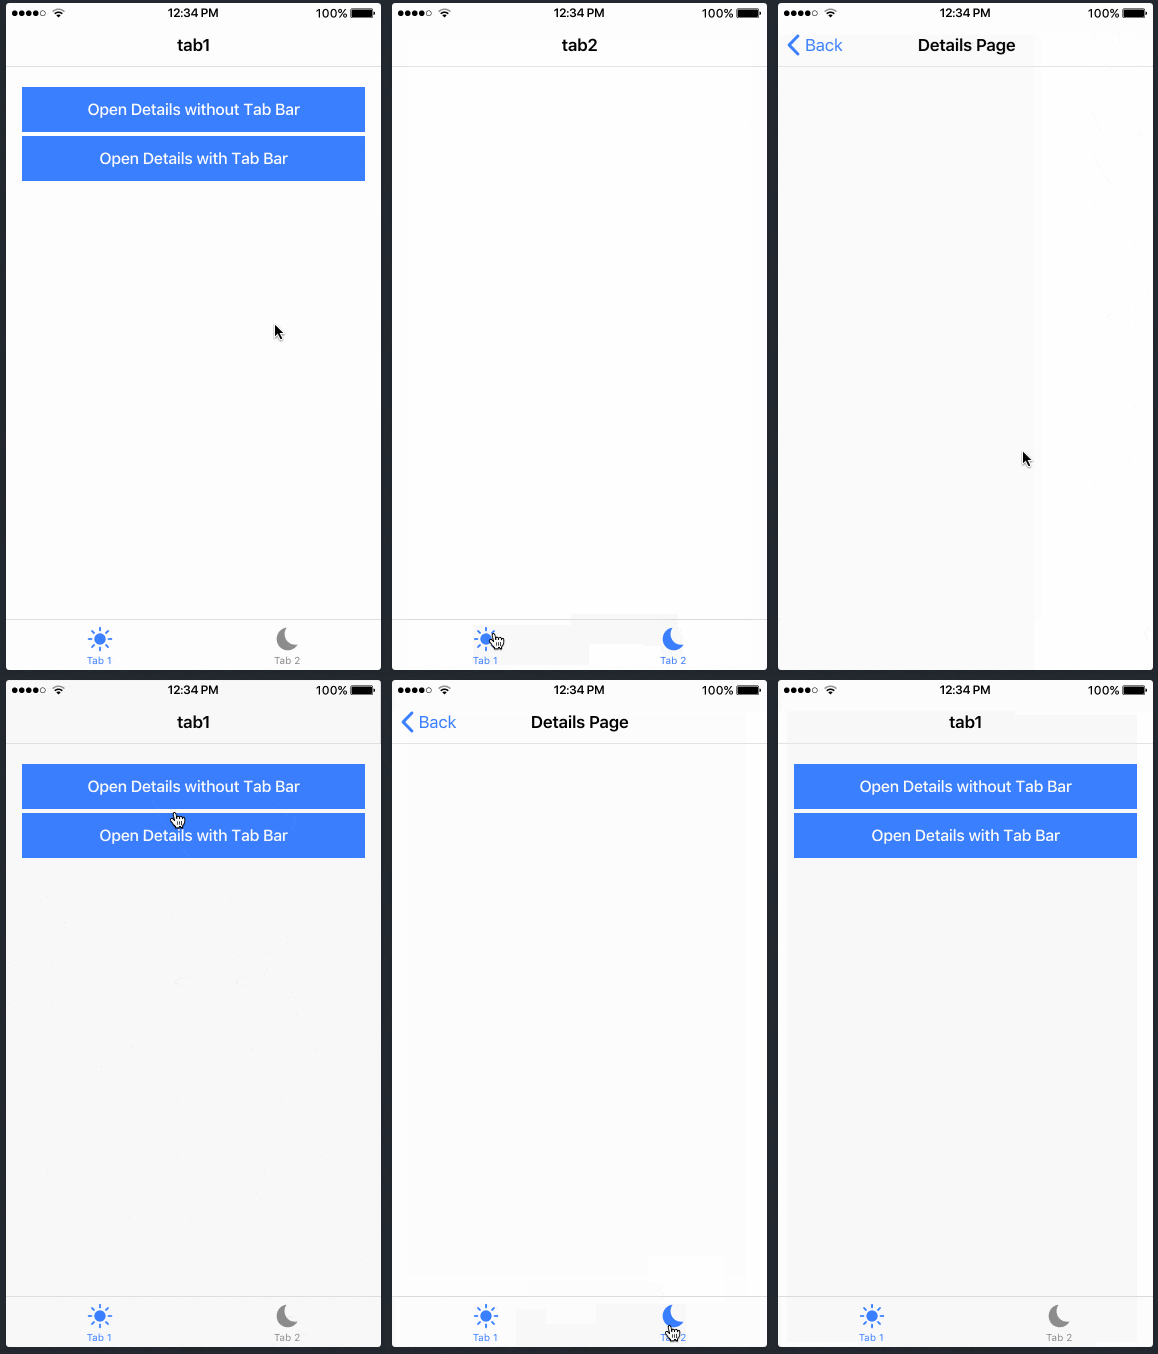
Tab Bar Navigation
With the basic routing and a handful of detail pages you basically can’t go wrong. Most of the time all your routing is in one file, and things only get more tricky when you work with child routing.
People especially encountered problems when they didn’t start their app with a tab bar or side menu but want to have other pages upfront. For example they might have a login page and only later navigate to a tabs page, in that case your top most routing could simply look like this:
const routes: Routes = [
  { path: '', redirectTo: 'login', pathMatch: 'full' },
  { path: 'login',  loadChildren: () => import('./login/login.module').then( m => m.LoginPageModule) },
  { path: 'app', loadChildren: () => import('./pages/tabs/tabs.module').then( m => m.TabsPageModule) }
];
The app might start with a login page, and at some point you simply navigate to the inside area which is available at the path /app and loads the actual tabs.module.ts file.
Let’s take a look at the routing information that your tabs page now might contain:
const routes: Routes = [
  {
    path: '',
    redirectTo: 'home',
    pathMatch: 'full'
  },
  {
    path: '',
    component: TabsPage,
    children: [
  { path: 'home',  loadChildren: () => import('..home/home.module').then( m => m.HomePageModule) },
  { path: 'news', loadChildren: () => import('..news/news.module').then( m => m.NewsPageModule) },
  { path: 'news/details', loadChildren: () => import('..news-item/news-item.module').then( m => m.NewsItemPageModule) },
    ]
  }
];
To understand what is going on let’s play through a few different cases to where the app might/could navigate:
/app
- The router looks up the route for /app and lands inside the routing file of our tabs module - now the first part of our path is resolved
- The router now looks for an empty path (”) and the first item that matches is the redirect - now we are looking for the path /home
- We go through the second item (as we already “used” the first block of information) and find a children array where we can math the /home part and resolve it to a page!
/app/news
- The router looks up the route for /app and lands inside the routing file of our tabs module - now the first part of our path is resolved
- The router now looks for a match for /news, and because the redirect only matches if the full path match is correct (that’s what the
pathMatchkey means) we step over to the next block - We go through the second item and find a children array where we can math the /news part and resolve it to a page!
While the router is looking for the right path, also the TabsPage which holds the actual view elements for the tab bar will be used - and then the final page will be displayed inside a router outlet of the tab bar again!
You can read it up on the Github page of the ion-tabs:
“ion-tabs is a styleless component that works as a router outlet in order to handle navigation.”
These two examples should give you an idea how the Angular router thinks when going through your information:
- Go through routes from top level to child routes
- Always use the first match in the array
If you want a full guide on how to implement a tab bar, you can checkout my tab bar guide here.
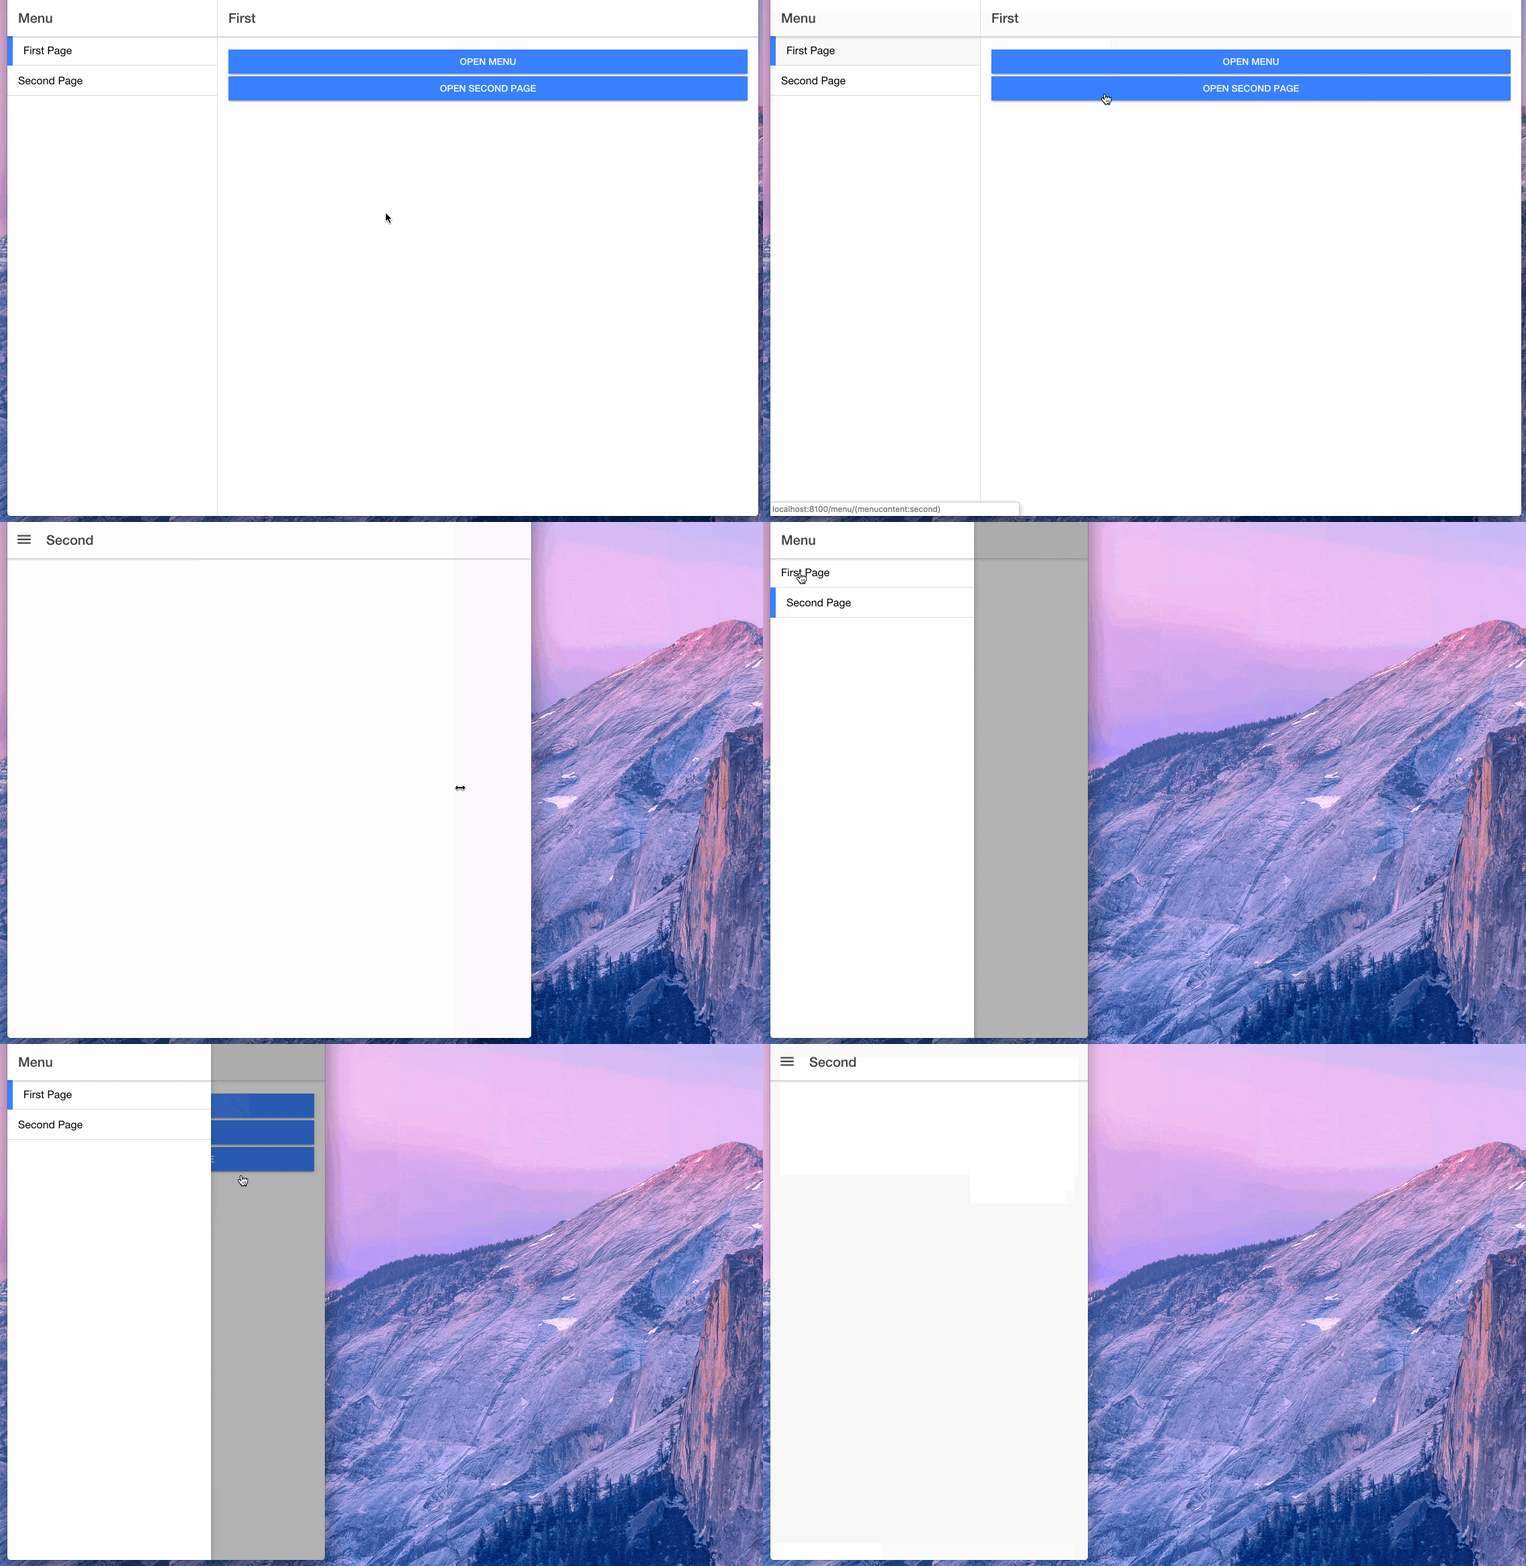
Side Menu Navigation
The side menu works pretty much the same way like the tabs interface: A parent defines the general structure, and alsohas a dedicated router outlet area where all the content will be displayed. 
In code the markup for a side menu interface looks abstracted like this:
<ion-menu>
    <ion-header>
      <ion-toolbar>
        <ion-title>Menu</ion-title>
      </ion-toolbar>
      <ion-content>
        Content of the side menu with page links
      </ion-content>
    </ion-header>
</ion-menu>

<!-- The place where the content pages will be rendered -->
<ion-router-outlet main></ion-router-outlet>
In terms of routing, there is also no magic behind this layout and a routing file (and this doesn’t have to be the root routing!) could look like this:
const routes: Routes = [
  {
    path: 'menu',
    component: MenuPage,
    children: [
      {
        path: 'first',
        loadChildren: () => import('..first/first.module').then( m => m.FirstPageModule)
      },
      {
        path: 'second',
        loadChildren: () => import('..second/second.module').then( m => m.SecondPageModule)
      }
    ]
  },
  {
    path: '',
    redirectTo: '/menu/first',
  }
];
Just like before imagine you are navigating to this module from another page (e.g. login). Your first path component is already resolved and depending on whether more is specified you might step into the first block and resolve a path like /pathafterlogin/menu/first.
If you end in this routing with no more path components left, the redirect strikes again - and brings you again to the first block and the /first path!
To learn how to build a side menu, simply follow my quick win onHow to Add A Side Menu to Your Ionic 4 App inside the Ionic Academy!
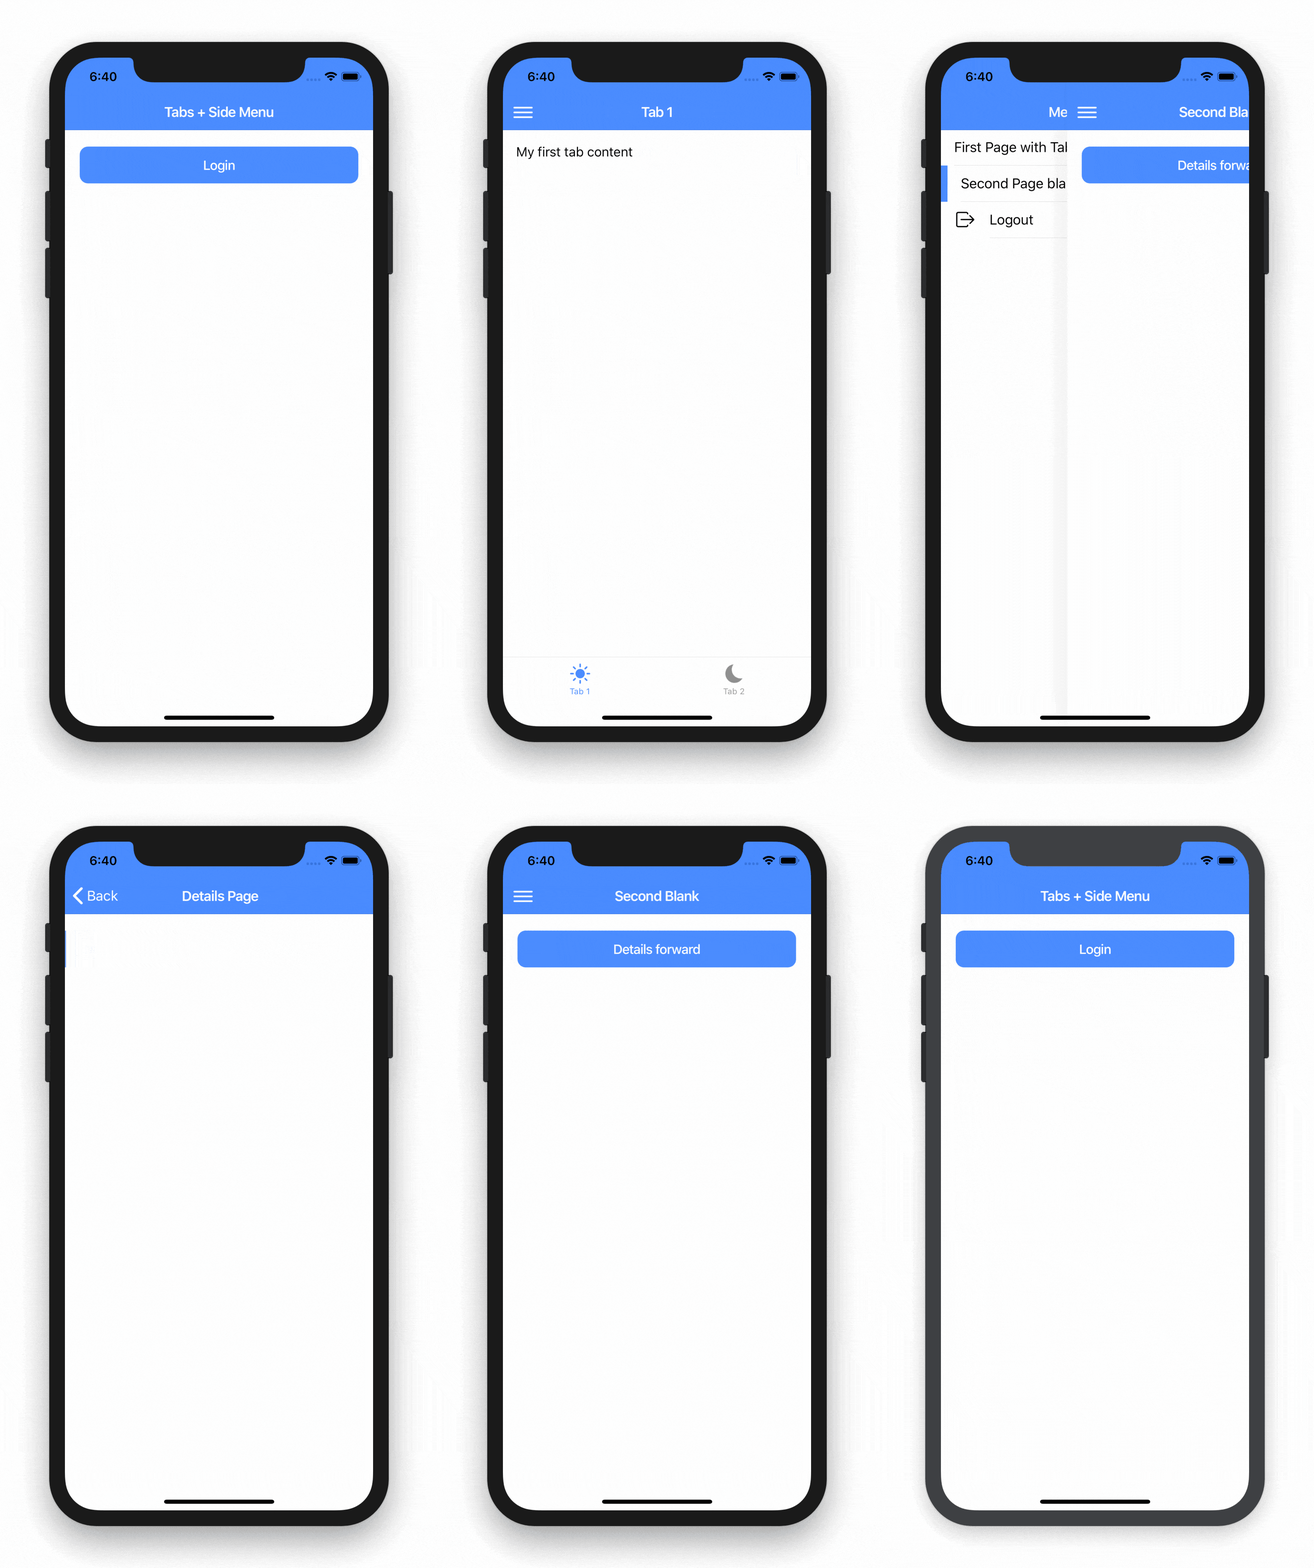
Combining Navigation Patterns
Sometimes you need both of the before mentioned patterns - but given the current routing system that’s actually no problem at all anymore! 
You can find my guide on How to Combine Ionic 4 Tabs and Side Menu Navigation here!
Modal Views
Just a quick word on modal pages at the end. Actually, modal pages doesn’t have a lot to do with Angular routing, simply because they don’t have a route!

If you present a modal from within your app, you will notice that the URL path won’t change at all. This is the correct behaviour because modal views live above the other components of your app.
You can find more information about different overlays inside my article about Passing Data to Ionic Modals, Pages & Popover.
Debugging Routing
Finally just a quick note for everyone still having a hard time with Angular routing:
You can enable a debugging mode right at the app-routing.module.ts file where you provide the router for your root module:
RouterModule.forRoot(routes, { enableTracing: true, preloadingStrategy: PreloadAllModules })By enabling the tracing you will see a bunch of logs in your console that tell you how the router is going through the information you provided.
Hopefully this will help you find the last bags with the Angular router inside your Ionic app!
You can also find a video version of this article below.
