How to Import & Export CSV Data using Papa Parse with Ionic Last update: 2019-08-20

Working with CSV data is a common business case, and although a mobile device and screen is not the perfect view for a table, we can still work with the data in an acceptable way!
In this tutorial we will import a CSV file into our Ionic app using the papa parse library or better, the Angular wrapper around it!
We will parse the raw CSV data into objects that we can work with, present it in a table where we can edit all data and finally also build the export functionality for both web and mobile!
Starting our CSV App
In order to build the functionality we start with a blank app and install papa parse, plus two more Cordova plugins:
- The File plugin to write our CSV output to a file in our apps directory
- The social sharing plugin to share the created file to wherever we want to afterwards
This might sound strange but it will work, trust me! Now get started by running:
ionic start devdacticCSV blank
cd devdacticCSV
npm install ngx-papaparse@3

# For native file creation
npm install @ionic-native/file
ionic cordova plugin add cordova-plugin-file

# For moving the file to e.g. iCloud
npm install @ionic-native/social-sharing
ionic cordova plugin add cordova-plugin-x-socialsharing
Next we need to prepare our module to load the library and use the providers for the native plugins, therefore change your app/app.module.ts to:
import { NgModule } from '@angular/core';
import { BrowserModule } from '@angular/platform-browser';
import { RouteReuseStrategy } from '@angular/router';

import { IonicModule, IonicRouteStrategy } from '@ionic/angular';
import { SplashScreen } from '@ionic-native/splash-screen/ngx';
import { StatusBar } from '@ionic-native/status-bar/ngx';

import { AppComponent } from './app.component';
import { AppRoutingModule } from './app-routing.module';

import { HttpClientModule } from '@angular/common/http';
import { PapaParseModule } from 'ngx-papaparse';
import { File } from '@ionic-native/file/ngx';
import { SocialSharing } from '@ionic-native/social-sharing/ngx';

@NgModule({
  declarations: [AppComponent],
  entryComponents: [],
  imports: [BrowserModule, IonicModule.forRoot(), AppRoutingModule,
  HttpClientModule,
  PapaParseModule],
  providers: [
    StatusBar,
    SplashScreen,
    { provide: RouteReuseStrategy, useClass: IonicRouteStrategy },
    File,
    SocialSharing
  ],
  bootstrap: [AppComponent]
})
export class AppModule {}
Now finally we need some data to test. Pick a CSV file that you already have or create a file at assets/test.csv and fill it with this dummy data:
Date,"First Name","Last Name","Email","Amount","Currency","InvoiceID","Country"
08.22.2019,"Simon","Grimm","saimon@devdactic.com","50,00","EUR","0001","GER"
08.21.2019,"Simon","Grimm","saimon@devdactic.com","45,00","EUR","0002","GER"
08.19.2019,"Simon","Grimm","saimon@devdactic.com","40,00","EUR","0003","GER"
08.18.2019,"Simon","Grimm","saimon@devdactic.com","35,00","EUR","0004","GER"
08.17.2019,"Simon","Grimm","saimon@devdactic.com","30,00","EUR","0005","GER"
08.16.2019,"Simon","Grimm","saimon@devdactic.com","25,00","EUR","0006","GER"
We assume a standard format, but if you have a different delimiter or any other non standard stuff you can look up the options you need to specify in the papa parse documentation easily.
Working with CSV Data
Now we can get started with the actual import/export of our CSV data. First of all, we need to load the file which is stored locally in our case.
If your app is on a server, the procedure would actually be the same just with a different URL. Just make sure your server has CORS enabled or otherwise you won’t get your file.
We also need to add a special response type to the HTTP request, because otherwise Angular would try to parse it as JSON (which is the default) and you’ll receive an error in that case.
Once you then got the data, you can easily parse it with papa parse into an array with all your data. Inspect the array data and you can see that we can splice the item at the first position as our header row and use the rest as the real data information.
To export the data we can call unparse which is basically the opposite direction. This will create a new CSV file from our array data that we can then write to a local file in our apps data directory. It seems like the Cordova file plugin can’t write to an iCloud folder, so in order to make it available everywhere you can use the social sharing plugin now!
With this plugin you can share or save the file basically wherever you want - give it a try and inspect the location after you shared it!
Go ahead now by changing thehome/home.page.ts to:
import { Component } from '@angular/core';
import { HttpClient } from '@angular/common/http';
import { Papa } from 'ngx-papaparse';
import { Platform } from '@ionic/angular';
import { File } from '@ionic-native/file/ngx';
import { SocialSharing } from '@ionic-native/social-sharing/ngx';

@Component({
  selector: 'app-home',
  templateUrl: 'home.page.html',
  styleUrls: ['home.page.scss']
})
export class HomePage {
  csvData: any[] = [];
  headerRow: any[] = [];

  constructor(
    private http: HttpClient,
    private papa: Papa,
    private plt: Platform,
    private file: File,
    private socialSharing: SocialSharing
  ) {
    this.loadCSV();
  }

  private loadCSV() {
    this.http
      .get('./assets/test.csv', {
        responseType: 'text'
      })
      .subscribe(
        data => this.extractData(data),
        err => console.log('something went wrong: ', err)
      );
  }

  private extractData(res) {
    let csvData = res || '';

    this.papa.parse(csvData, {
      complete: parsedData => {
        this.headerRow = parsedData.data.splice(0, 1)[0];
        this.csvData = parsedData.data;
      }
    });
  }

  exportCSV() {
    let csv = this.papa.unparse({
      fields: this.headerRow,
      data: this.csvData
    });

    if (this.plt.is('cordova')) {
      this.file.writeFile(this.file.dataDirectory, 'data.csv', csv, {replace: true}).then( res => {
        this.socialSharing.share(null, null, res.nativeURL, null).then(e =>{
          // Success
        }).catch(e =>{
          console.log('Share failed:', e)
        });
      }, err => {
        console.log('Error: ', err);
      });

    } else {
      // Dummy implementation for Desktop download purpose
      var blob = new Blob([csv]);
      var a = window.document.createElement('a');
      a.href = window.URL.createObjectURL(blob);
      a.download = 'newdata.csv';
      document.body.appendChild(a);
      a.click();
      document.body.removeChild(a);
    }
  }

  trackByFn(index: any, item: any) {
    return index;
  }
}
There’s also a simple browser implementation that creates a new element and downloads it, but this behaviour is not working inside a real mobile application.
Also, our trackByFn function is used to track changes to our elements. If we don’t use it in our view, we can’t really change our input fields and only edit one character at a time. You’ll see soon where we integrate it.
Our view for the CSV data basically consists of a table with rows and columns that we use inside the ngFor iteration on our data. Here we make use of the before mentioned function to track the changes of the elements in the view!
Also, the index helps to use the right ngModel for each of our cells!
To finally get something we can use on a mobile device we will give the table a bigger width through CSS next, and to make our screen scroll horizontal we can set the scrollX attribute on the ion-content of the view! This is basically the replacement for using ion-scroll in previous versions.
Now change your home/home.page.html to this:
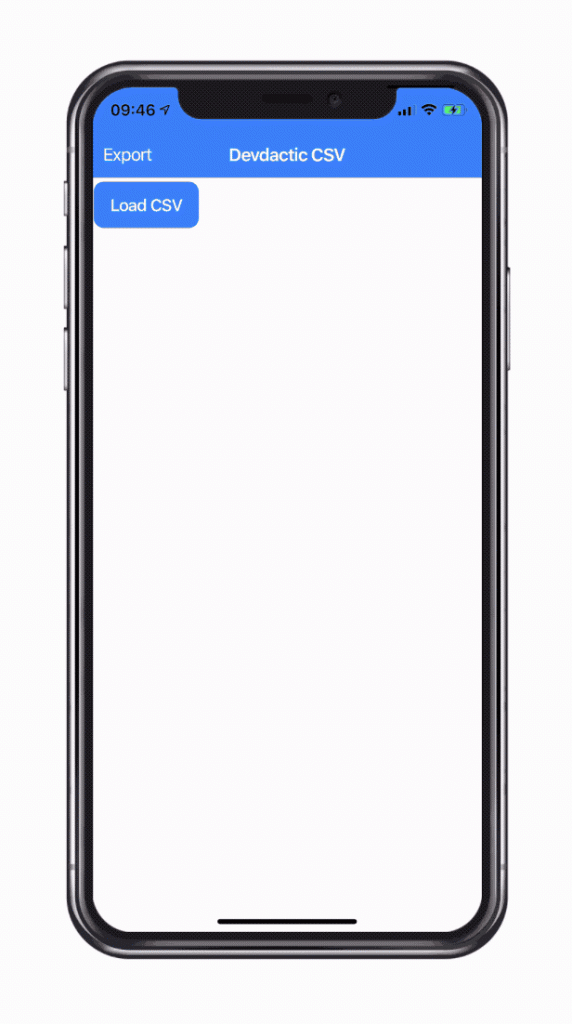
<ion-header>
  <ion-toolbar color="primary">
    <ion-title>
      Devdactic CSV
    </ion-title>
    <ion-buttons slot="start">
      <ion-button (click)="exportCSV()">
        Export
      </ion-button>
    </ion-buttons>
  </ion-toolbar>
</ion-header>

<ion-content scrollX="true">

  <table border="1" class="data-table">
    <tr>
      <td *ngFor="let header of headerRow" text-center><b>{{ header }}</b></td>
    </tr>
    <tr *ngFor="let row of csvData; let i = index">
      <td *ngFor="let data of row; let j = index; trackBy: trackByFn" class="data-col ">
        <ion-input type="text" [(ngModel)]="csvData[i][j]"></ion-input>
      </td>
    </tr>
  </table>

</ion-content>
Finally we add a bit of CSS so the view looks nice on a mobile device and we can always see which cell we are editing by using the has-focus class that is automatically added to an input once we touch it!
Apply the following changes to the home/home.page.scss to finish the app:
.data-col {
    background: #f0f0f0;
}

.has-focus {
    --background: #fdf696;
}

.data-table {
    min-width: 800px;
}
Now your CSV worker app is ready, working both inside a desktop browser and deployed as a native application!
Conclusion
Working with CSV data inside your Ionic app isn’t that hard with the Papa parse library. The tricky part is as always working with files, but these issues can also be addressed with the right packages!
You can also find a video version of this article below.