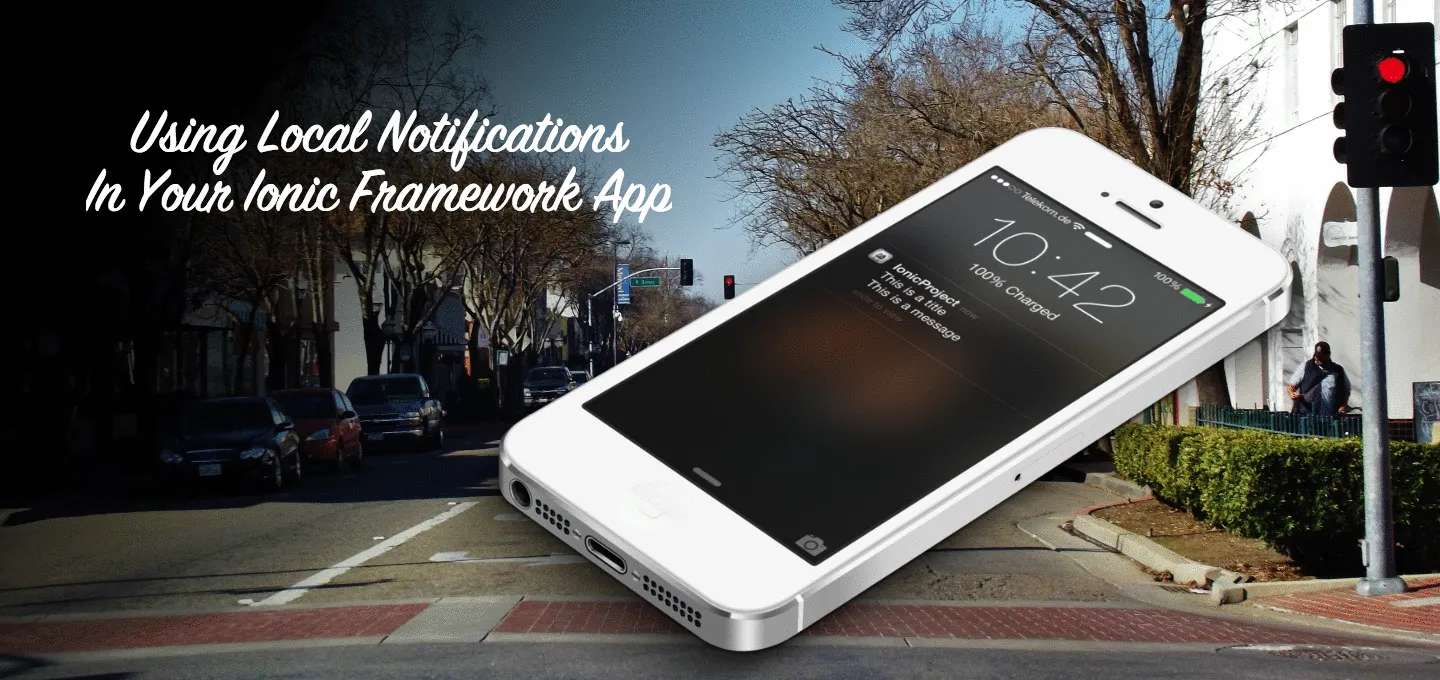
Using Local Notifications In Your Ionic Framework App Last update: 2015-02-03

Maybe you’re making an app that distributes reminders or requires some kind of notification. You don’t necessarily need push notifications, but you would still like notifications. This could be a challenging task in native Android and iOS development.
Lucky for us, we can make use of the Apache Cordova local notifications plugin created by Sebastian Katzer in our Ionic Framework project.
We’re going to start by creating a fresh Ionic project for Android and iOS:
ionic start IonicProject blank
cd IonicProject
ionic platform add android
ionic platform add ios
Remember, if you’re not using a Mac, you cannot add and build for the iOS platform.
The next thing we want to do is install the Apache Cordova local notifications plugin. In your Terminal or command prompt, enter the following:
cordova plugin add de.appplant.cordova.plugin.local-notificationAt this point you can technically start using local notifications in your application, but since we’re using Ionic Framework, we want to keep things Angular. Go ahead and download the latest ngCordova release and include the ng-cordova.min.js file in your project’s www/js directory.
Now the ngCordova JavaScript library must be added to your index.html file like the following:
<script src="js/ng-cordova.min.js"></script>It is very important that the above line appears above the cordova.js script, otherwise you’re going to experience strange results.
The final step in including ngCordova into your project is to add it to the list of directives in the angular.module portion of your app.js file like so:
var ionicApp = angular.module("ionic", ["ionic", "ngCordova"]);It’s time to start using local notifications in our project by making use of the $cordovaLocalNotification command.
Take the following controller for example:
ionicApp.controller("ExampleController", function($scope, $cordovaLocalNotification) {

    $scope.add = function() {
        var alarmTime = new Date();
        alarmTime.setMinutes(alarmTime.getMinutes() + 1);
        $cordovaLocalNotification.add({
            id: "1234",
            date: alarmTime,
            message: "This is a message",
            title: "This is a title",
            autoCancel: true,
            sound: null
        }).then(function () {
            console.log("The notification has been set");
        });
    };

    $scope.isScheduled = function() {
        $cordovaLocalNotification.isScheduled("1234").then(function(isScheduled) {
            alert("Notification 1234 Scheduled: " + isScheduled);
        });
    }

});
Here we have two functions, add() and isScheduled(). When we add a notification, it will trigger based on an alarm, which in this case will fire one minute from adding.
By making use of the isScheduled() method, we can check to see if our notification is already scheduled.
For iOS 8 only, it is a requirement to request for notification permissions first. This can be accomplished by adding the following in our controller:
$ionicPlatform.ready(function() {
    if(device.platform === "iOS") {
        window.plugin.notification.local.promptForPermission();
    }
});
The first time you run your app on iOS you will be prompted.
To make use of these methods, open your index.html file and include the following somewhere in your <body> tag:
<ion-content ng-controller="ExampleController">
    <button class="button" ng-click="add()">Add notification</button>
    <button class="button" ng-click="isScheduled()">Is Scheduled</button>
</ion-content>
As of right now, the official ngCordova documentation mentions the following broadcast listeners:
$rootScope.$on("$cordovaLocalNotification:canceled", function(e,notification) {});
$rootScope.$on("$cordovaLocalNotification:clicked", function(e,notification) {});
$rootScope.$on("$cordovaLocalNotification:triggered", function(e,notification) {});
$rootScope.$on("$cordovaLocalNotification:added", function(e,notification) {});
Don’t take these too seriously, because they don’t work out of the box and I’ll explain why.
In the ngCordova source code you’ll find functions like the following which match Sebastian Katzer’s documentation:
$window.plugin.notification.local.onadd = function (id, state, json) {
    var notification = {
        id: id,
        state: state,
        json: json
    };
    $timeout(function () {
        $rootScope.$broadcast("$cordovaLocalNotification:added", notification);
    });
};
Nothing wrong with the above code. However, in the source code file, these functions are wrapped in the following condition:
if($window.plugin && $window.plugin.notification) {

}
The problem is that the plugin will never be ready in time for the above condition to be true, thus making our listeners never run.
A work around would be something like this in your app.js file:
var ionicApp = angular.module('starter', ['ionic', 'ngCordova']);

ionicApp.run(function($ionicPlatform, $rootScope, $timeout) {
    $ionicPlatform.ready(function() {
        if(window.cordova && window.cordova.plugins.Keyboard) {
            cordova.plugins.Keyboard.hideKeyboardAccessoryBar(true);
        }
        if(window.StatusBar) {
            StatusBar.styleDefault();
        }
        window.plugin.notification.local.onadd = function (id, state, json) {
            var notification = {
                id: id,
                state: state,
                json: json
            };
            $timeout(function() {
                $rootScope.$broadcast("$cordovaLocalNotification:added", notification);
            });
        };
    });
});
The above works because we defined our listener function inside the $ionicPlatform.ready() method.
Now with this broadcasting, you can listen for the broadcasts in your AngularJS controllers:
$scope.$on("$cordovaLocalNotification:added", function(id, state, json) {
    alert("Added a notification");
});
There are a lot of different features you can make use of with this plugin, but I’ve only listed a few. The base Apache Cordova plugin is a little buggy, but for the most part it works.
View a video version of this article below.
