How To Create An Advanced Ionic Gallery with Image Zooming Last update: 2015-06-23
Presenting images in whatever form you like is a standard job inside an app. If you want to create an image gallery, things get a bit tougher. Additional, if you want image zooming inside your standard gallery view, your head might explode without the proper knowledge.
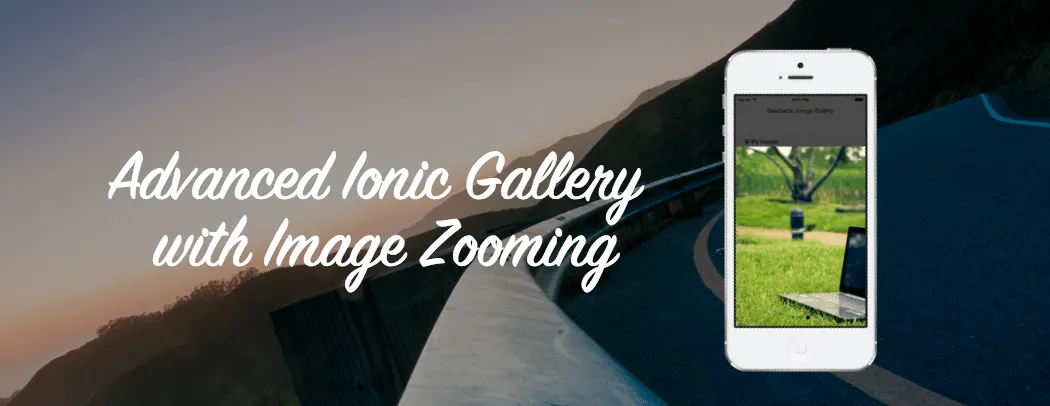
Let me present you an easy way how to show an image gallery like in the Facebook app, with additional image zooming functionality for every picture while staying inside your carousel!
Are you presenting images inside your app?
In a previous article I explained How To Display Images and Videos with Ionic Really Cool, which has been attracted a lot of people. Additionally you asked how to zoom those images, which is a bit tricky. Let me show you how to create a great such a great looking image gallery!
Setup the base app and create our initial view
First, let’s start a blank project so we can include everything one by one:
ionic start devdactic-galleryZoom blankInside the just created app, open the index.html and replace the body with this:
  <body ng-app="starter">

    <ion-pane>
      <ion-header-bar class="bar-stable">
        <h1 class="title">Devdactic Image Gallery</h1>
      </ion-header-bar>
      <ion-content class="has-header padding" ng-controller="GalleryCtrl">
        <br><br>

        <div class="item item-divider">
          <i class="ion-images"></i>
          My Images
        </div>

        <a class="item item-list-detail">
          <ion-scroll direction="x">
            <img ng-repeat="image in allImages" ng-src={{image.src}} ng-click="showImages($index)" class="image-list-thumb"/>
          </ion-scroll>
        </a>

      </ion-content>
    </ion-pane>
  </body>
Does this look familiar to you?
If you have followed my previous tutorial, this should be. In general we just have a clean UI with a card, displaying our image thumbnails inside a horizontal scrollview. Every image inside our ng-repeat has a click event which will trigger a function in our controller, passing the index of the selected image.
Adding the Gallery Controller and a modal template
Our controller is already assigned, let’s create it. Open the app.js and add:
.controller('GalleryCtrl', function($scope, $ionicBackdrop, $ionicModal, $ionicSlideBoxDelegate, $ionicScrollDelegate) {

  $scope.allImages = [{
    src: 'img/pic1.jpg'
  }, {
    src: 'img/pic2.jpg'
  }, {
    src: 'img/pic3.jpg'
  }];

  $scope.zoomMin = 1;

});
The images array takes 3 pictures from our img/ folder and we have scope variable for our minimum zoom level, which we will need in the later steps.
Let’s continue with our popover. Once a user taps on one of those thumbnail images, we want to show an ionicModal above our current content, with a dark transparent background. We will load this view from a template, so inside your www/ folder create a file at templates/gallery-zoomview.html and insert this:
<div class="modal image-modal transparent" on-swipe-down="closeModal()">
	<ion-slide-box on-slide-changed="slideChanged(index)" active-slide="activeSlide">
		<ion-slide ng-repeat="image in allImages">
			<ion-scroll
				direction="xy"
				scrollbar-x="false"
				scrollbar-y="false"
				zooming="true"
				min-zoom="{{zoomMin}}"
				style="width: 100%; height: 100%"
				delegate-handle="scrollHandle{{$index}}"
				on-scroll="updateSlideStatus(activeSlide)"
				on-release="updateSlideStatus(activeSlide)"
			>
				<div class="image" style="background-image: url( {{image.src}} )"></div>
			</ion-scroll>
		</ion-slide>
	</ion-slide-box>
</div>
This template view will be filled with our images, and has a lot of Ionic stuff going on there! Take a look at everything, from outside to inside:
- The outer div is a wrapper for our modal view with some background styling
- ion-slide-box holds our views which can be swiped horizontal (ion-slide-box documentation)
- One ion-slide represents one view with an image zooming area
- The ion-scroll manages our view behaviour for one image
- The current image object of this slide view from our scope array plus styling
The slidebox and slides are pretty straight forward and also explained in my previous article about Images with Ionic.
New this time: the ion-scroll! This directive handles a lot inside our modal, in fact everything related to our image zooming function. The important part is, that we only want to do one action at a time: Scroll the Gallery or Zoom.
This is the same behaviour as seen in the Facebook app, because otherwise things get really weird. Images move inside their view while their container moves (at best) or worse things can happen. So we have to take care of 2 important aspects:
- 1. Assign a specific delegate-handle to each scrollview ->
scrollHandle{{$index}} - 2. Catch the
on-scrollevent and check if we allow or forbid gallery scrolling
When we correctly use those 2 aspects, we can get a great result, trust me. But before the magic happens, we need to take care of something else.
There will be dragons
So you put a directive inside a directive so you can… DAFACK?
As if having all of those Ionic directives nested wouldn’t be enough, we need some CSS to get the desired result. Therefore open your style.css and insert:
.image-list-thumb {
	padding: 2px 2px 2px 2px;
	height: 150px;
}

.image-modal {
	width: 100% !important;
	height: 100%;
	top: 0 !important;
	left: 0 !important;
}

.transparent {
	background: rgba(0, 0, 0, 0.7);
}

.slider {
	width: 100%;
	height: 100%;
}

.image {
	width: 100%;
	height: 600px;
	background-size: contain;
	background-repeat: no-repeat;
	background-position: center, center;
}
There is no magic inside, and this comes from a not very talented CSS guy. We just have to fiddle out some correct sizes as we would otherwise have not the centered image, taking the complete width and so on. Also I made the background of the modal to a 0.7 transparent black, the standard is pure white, but I like to see the app below. Just change those values to fit your needs!
Finally, we come back to our scrollview delegate methods. The first 3 functions of this code are mandatory for opening and closing our modal template, the last one handles our image zooming and scrolling problem, so open the app.js again and add inside our controller:
$scope.showImages = function(index) {
  $scope.activeSlide = index;
  $scope.showModal('templates/gallery-zoomview.html');
};

$scope.showModal = function(templateUrl) {
  $ionicModal.fromTemplateUrl(templateUrl, {
    scope: $scope
  }).then(function(modal) {
    $scope.modal = modal;
    $scope.modal.show();
  });
}

$scope.closeModal = function() {
  $scope.modal.hide();
  $scope.modal.remove()
};

$scope.updateSlideStatus = function(slide) {
  var zoomFactor = $ionicScrollDelegate.$getByHandle('scrollHandle' + slide).getScrollPosition().zoom;
  if (zoomFactor == $scope.zoomMin) {
    $ionicSlideBoxDelegate.enableSlide(true);
  } else {
    $ionicSlideBoxDelegate.enableSlide(false);
  }
};
What is going on onScroll?
Whenever the user scrolls our scrollview (which would be better called zoomView here), the updateSlideStatus function is called. This function will get a handle to the correct scrollview by using the parameter passed from the function, and afterwards get the current zoom level.
If this zoom level is equal to our initial defined zoomlevel, we are sure we are completely zoomed out so we can enableSlide for our ion-slide-box!
If this is not the case, meaning we are somewhere zoomed in, we don’t want to allow sliding our gallery and turn the function off by using the ionicSlideBoxDelegate. That’s all!
I recommend to test your app on the simulator or a real device, as the pinch to zoom function is not working in the browser. Depending on your images, the result should look like this (watch the movie for some moving pictures):

See a video version of this article below, and make sure to follow my YouTube channel for more great video tutorials.
If this tutorial was helpful, I would be happy to see a follower more on @schlimmson and leave a comment!
So long, Simon